
Happy Sunday!
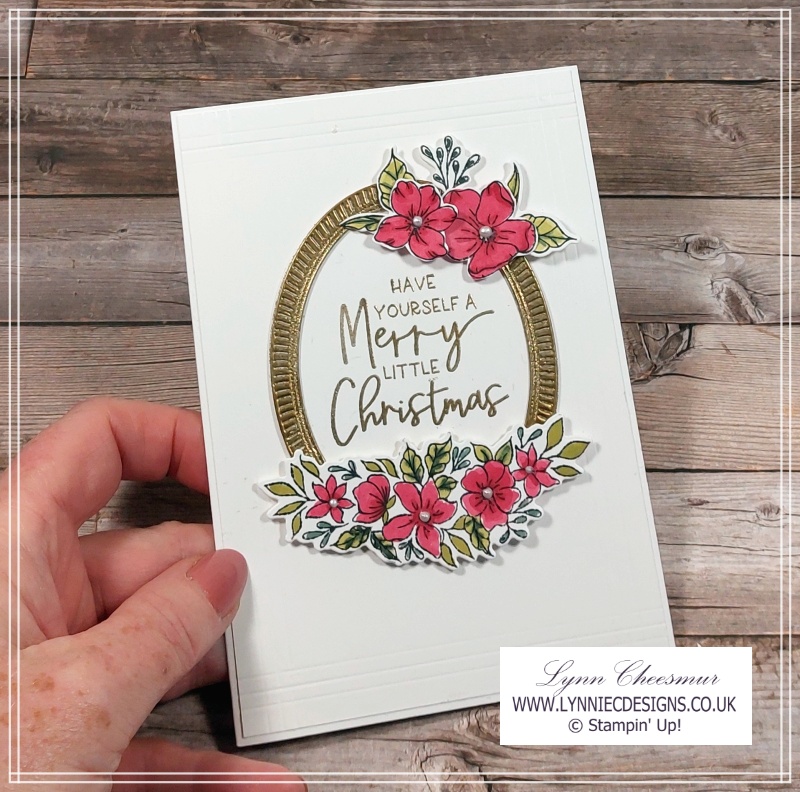
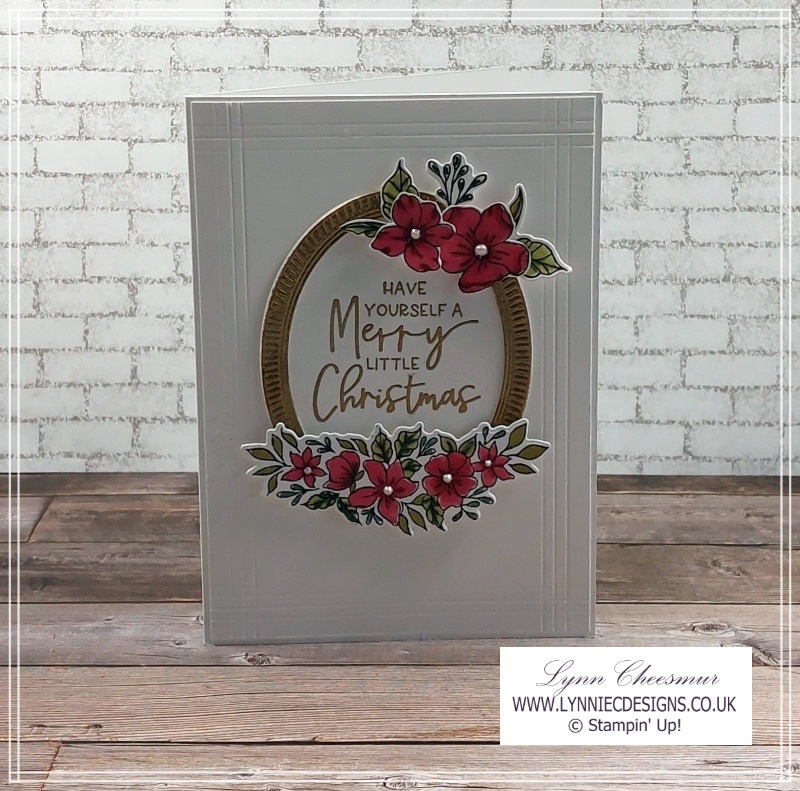
Today I want to show you how easy it is to use Faux Metal embossing in your cardmaking. I wanted to keep this elegant Christmas card clean and simple so added extra detail with a bit of simple dry embossing and some faux metal embossing. Isn’t the card gorgeous?
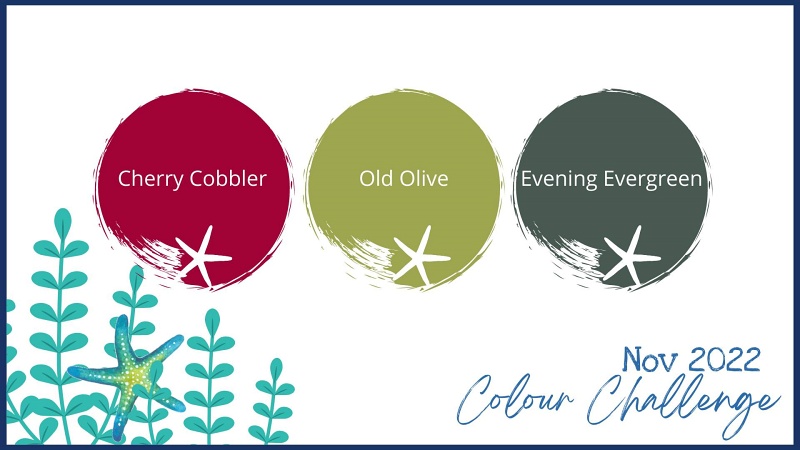
The Stamping Cove is a VIP Facebook group hosted by my lovely friend and upline Emma Goddard, The Coastal Crafter and each month she sets the Design Team a challenge. We had a colour challenge for November – Cherry Cobbler, Old Olive and Evening Evergreen, which made me think festive. So it was an easy choice for me to make a Christmas card using the gorgeous Framed Florets bundle. Here’s another card I’ve shared using this bundle.
I also thought this card fit with this weeks Global Design Project sketch challenge (well kind of LOL). As a result I have entered it for #GDP370 as well.

As usual there’s lots of lovely inspiration from the Design Team over on the Global Design Project blog so go check them out and all the other entries.
Christmas cards we made in class
This elegant Christmas card was another project from my latest card classes and if you would like more inspiration you can see another card we made here.
The card base is Thick Basic White with a layer of Basic White. As mentioned above, I wanted to keep this Christmas card clean and simple but wanted to add some extra detail with Faux Metal embossing.
Dry Embossing vs Faux Metal Embossing
Embossing is a great way to make your projects special. A good example of dry embossing are the scored lines I added around the edge of the Basic White layer. You know before I invested in my first diecutting machine I used a light box and scoring tool to dry emboss – very old school!! Whereas heat embossing, is still one of my favourite techniques and I really enjoy watching the powder melting – it’s somehow magical. When you use metallic emboss powder you can create faux metal embellishments or in this instance, I used gold powder to give the frame a faux metal look rather than using die cutting from foil sheets.
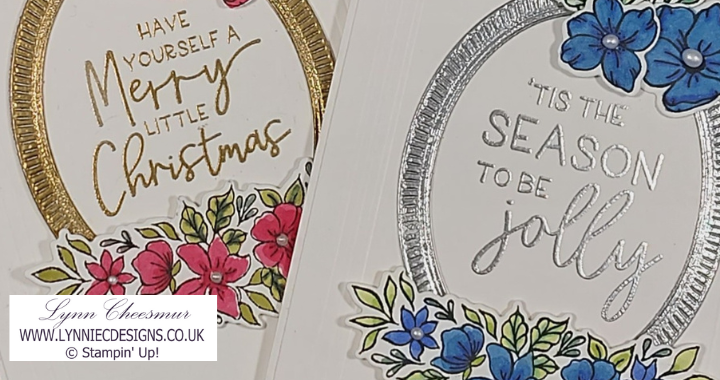
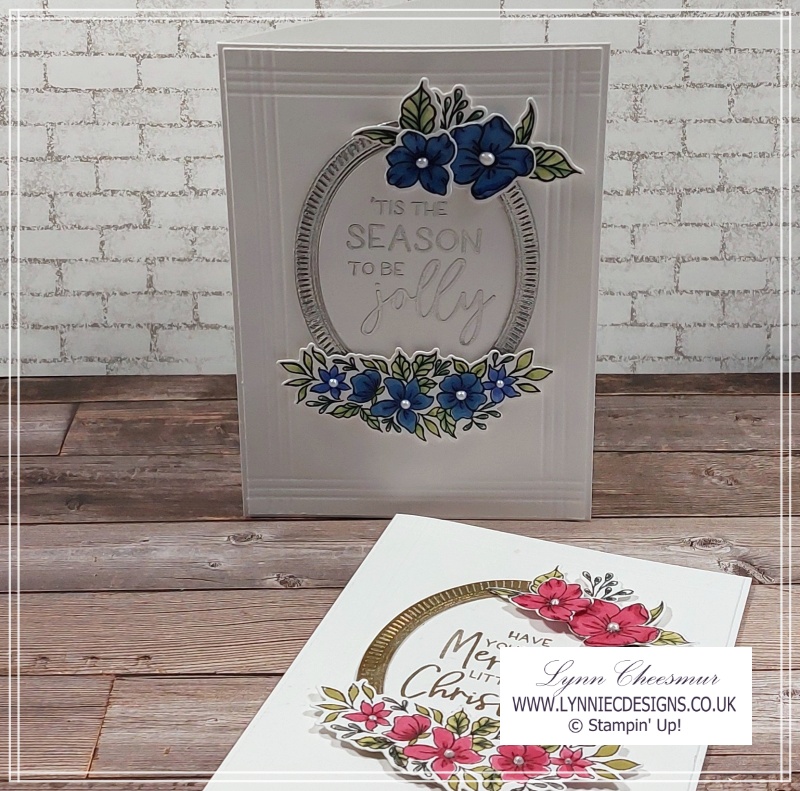
For the second card I changed the colour combination to Orchid Oasis, Night of Navy, Granny Apple Green and Shaded Spruce because I wanted to see what Silver Embossing Powder would looked like. And I think it looks amazing and there’s a video tutorial later in this post or you can click the photo below to watch me make this pretty Christmas card.
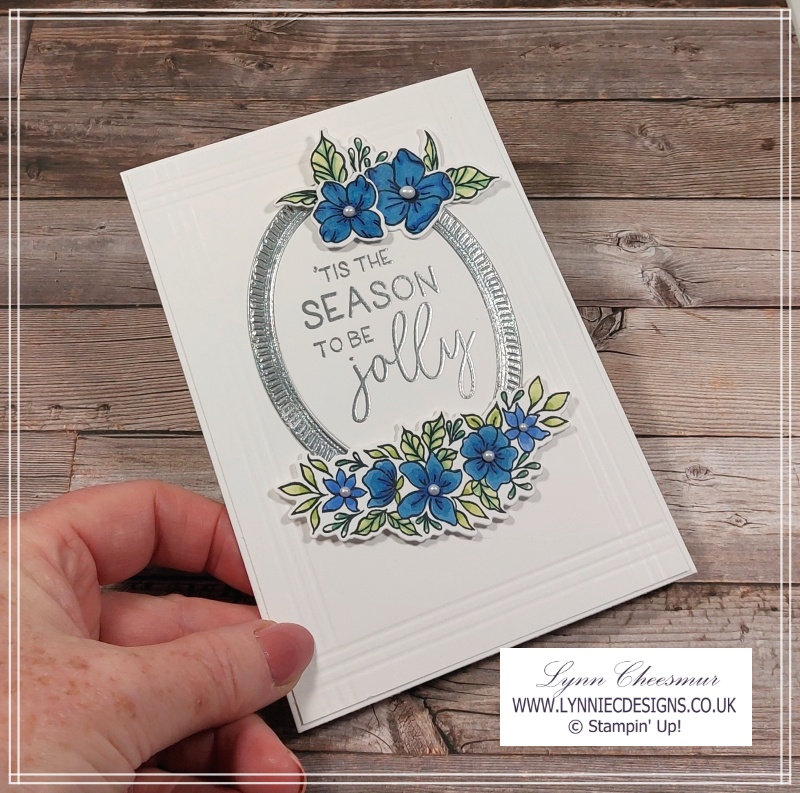
For the centres of the flowers on both cards I used the white Pearlised Enamel effects. You get Red, White and Black in the pack and this is a cost effective wayto make your own embellishments. Just remember to leave enough time for them to dry!
Supplies you need to make these christmas cards
Stamps / Bundle:
Framed Florets Bundle and Frames & Festive
Cardstock:
- Thick Basic White 14.8cm x 21cm scored @ 10.5cm
- Basic White 10.2cm x 14.2cm
- Basic White quarter sheet for stamping and die cutting
Inks:
Memento Black, Versamark
Accessories:
Metallics Embossing Powder, Pearlised Enamel Effects Basic, Stampin’ Blends – Cherry Cobbler, Old Olive, Evening Evergreen / Orchid Oasis, Night of Navy, Granny Apple Green, Shaded Spruce, Heat Tool, Score Board.
Tools and Adhesives:
Heat Tool, Score Board, Multipurpose Liquid Glue, Mini Stampin’ Dimensionals
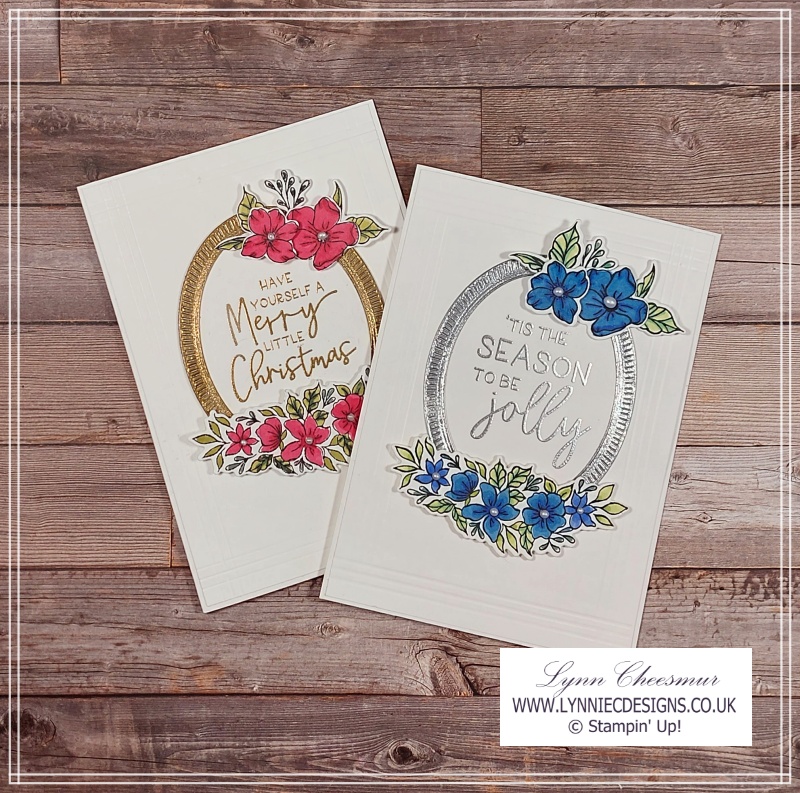
Both cards are elegant, clean and simple so I’m happy with the way they turned out. However, when you buy the Metallics Embossing Powders you also get copper emboss powder so I reckon I should to head back into my craft room to make a third card. What colour combination should I use?
If you would like to watch me make the blue and silver card click on the video below.
Finally, all the current products used are listed below and you can buy them in my Stampin’ Up! online shop. If you would like more information about shopping with me click this link.
That’s all from me today, as always thanks for stopping by and remember to keep it crafty.

Product List
")
")


