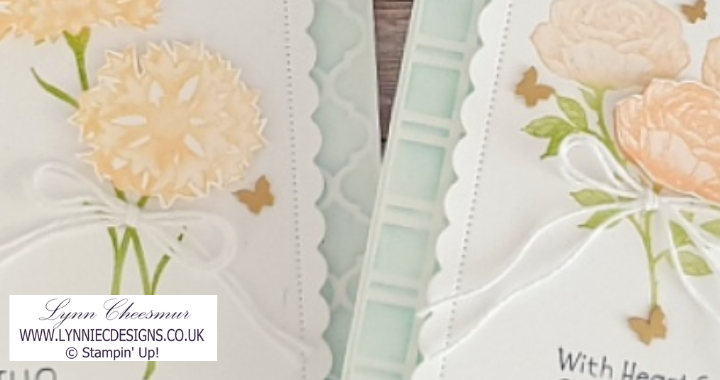
Happy Sunday!
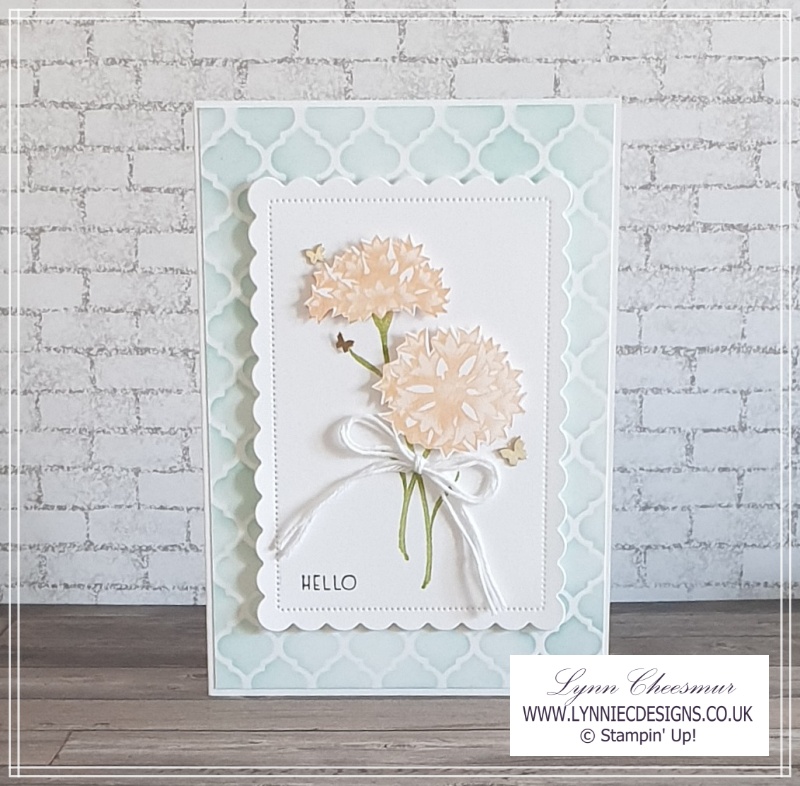
Today I want to show you how easy it is to use decorative masks in your cardmaking. Masks are a great way of creating a pretty background on a project instead of patterned paper. I love using decorative masks and for my projects today I used the Artistic Mix Decorative Masks that are in the current Stampin’ Up! annual catalogue. There are five different masks in the pack and they are really affordable and they can be used individually or layered to create a completely different look. How cool is that!
The Stamping Cove Design Team
The first card was designed for the August colour challenge over at The Stamping Cove, which is a Facebook Group set up by my lovely upline Emma Goddard, Coastal Crafter. Every month there is a different challenge and I have really enjoyed being on the Design Team and creating projects to help inspire the other members of the Group. The pretty colour combination for this months colour challenge is Granny Apple Green, Petal Pink and Pool Party.
How to use decorative masks
Creating the background for my cards was actually really easy and didn’t take long at all. My top tip, unless you are super confident, it is to tape the mask down over your cardstock so it doesn’t move when you add colour or embossing paste. So after taping down the mask, I lightly applied Pool Party with a blending brush because I wanted to keep the colour really soft. Another top tip is to lift a corner of the mask to check the pattern before completely removing the mask. That way you can easly add more colour as needed. I have shared lots of other cards made with masks and you can see another example here.
Sale-a-bration 2022
There is still ten days left of the current Sale-a-bration promotion. If you’re not sure what Sale-a-bration is you can read all about it in my last post here. I wanted to show your projects with products that I have earned for FREE during the promotion so decided to use Wonderful World stamp set, which is a Sale-a-bration bundle that includes some gorgeous designer series paper. However, I’ve not used the paper just the stamp set.
Adding ink to stamps
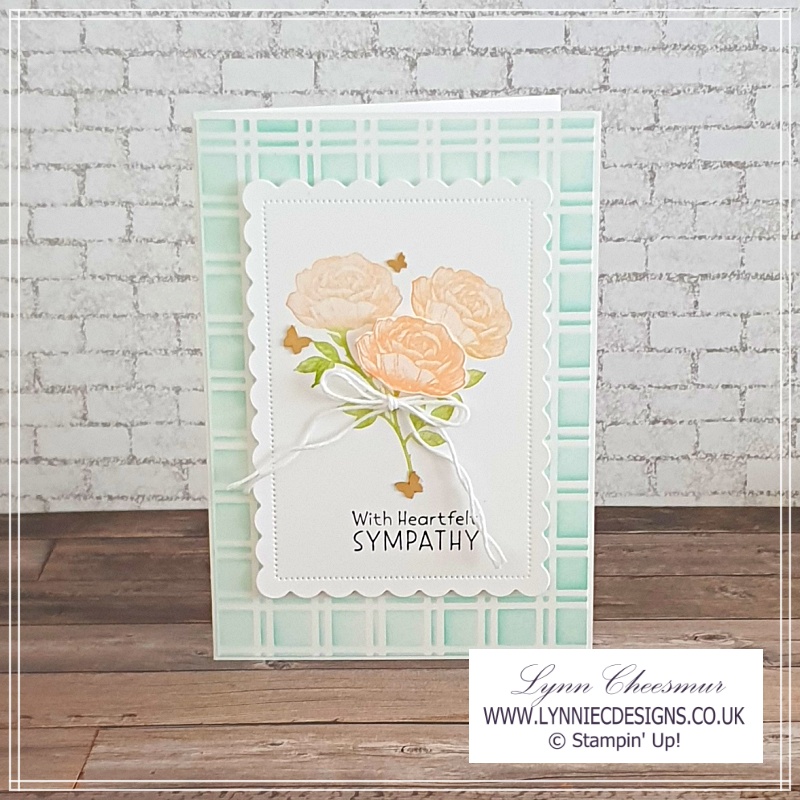
There are different ways to ink up your stamps. If you want the whole image to be in one colour the easiest way is to use an ink pad. But if you want a multi coloured image you can use Stampin’ Write Markers or sponge daubers. Do not use Stampin’ Blends because they are alcohol markers and will stain your stamps. I used sponge daubers to apply Granny Apple Green to the stem and leaves and Petal Pink to the flowers. I then stamped the flower again and fussy cut the flower to add a bit of dimension to my card. You can watch me make the second card by clicking the photo below. I used another of the Artistic Mix Decorative Masks to make the background with the rose from the Wonderful World stamp set and I have done some masking because I wanted to stamp three roses.
Using Masking Paper
Did you know that Stampin’ Up! now has some Masking Paper, which is brilliant. Masking an image before stamping another image gives the appearance of one image in front of another to create the illusion of depth. This is the first time I’ve used it and I found that it is very sticky so another top tip (I’m full of them today) is to remove some of the sticky by placing the mask on the back of your hand first otherwise it might tear your cardstock when you remove it. Once you’ve made a mask it can be saved to be used again and again.
The sentiments on both cards are from Inspired Thoughts and are stamped in memento.
Supplies
Stamps:
Wonderful World and Inspired Thoughts
Cardstock:
- Thick Basic White 14.8cm x 21cm scored at 10.5cm
- Basic White 10.2cm x 14.5cm plus a quarter sheet of A4 for die cutting and stamping
Inks:
Granny Apple Green, Petal Pink, Pool Party and Memento Black
Accessories:
Artistic Mix Decorative Masks, White twine, Brushed Brass Butterflies
Tools and Adhesives:
Scalloped Contour dies, Blending Brush, Sponge daubers, Masking paper, Paper snips, Multipurpose Liquid Glue, Stampin’ Dimensionals, Mini glue dots
Instructions :
- Cut and score card base
- Tape mask over white mat and apply ink with a blending brush
- Die cut label
- Apply ink to stamp with sponge daubers and stamp on label
- Create a mask and trim, if stamping multiple flowers
- Stamp extra flowers and trim before adding with dimensional
- Tie a double bow and add with a glue dot
- Stamp sentiment on label and add to matt layer with dimensionals
- Glue to card base
- Add Brushed Brass Butterflies
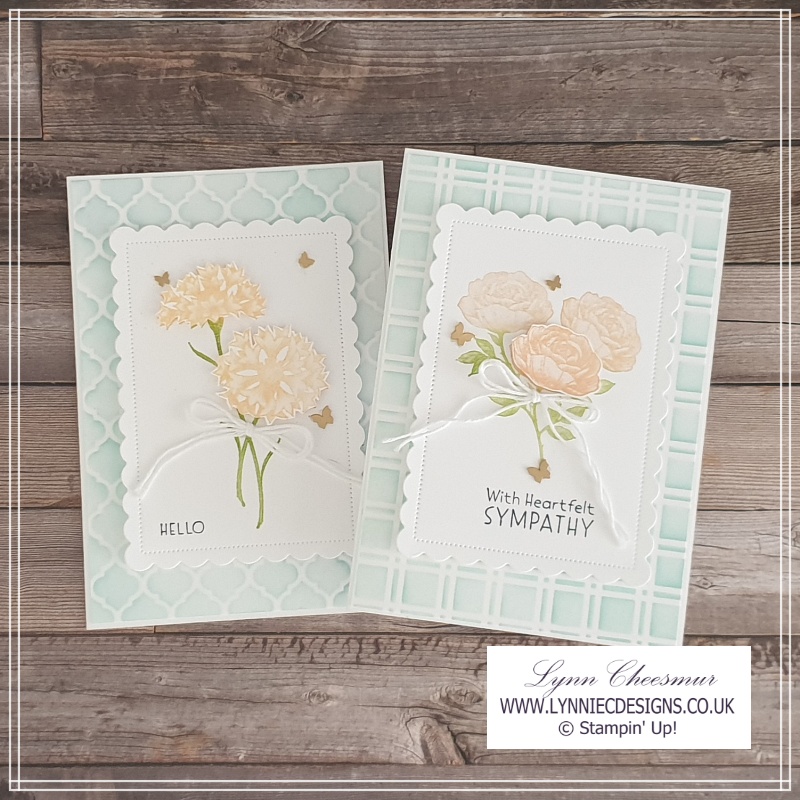
For both cards the backgrounds are quite simple but elegant. I can’t wait to use these decorative masks on more projects and will double them up next time so you can see what they look like. You can watch me make the second cards below.
Thank you for visiting my blog today, I hope you like these cards as much as I do. If so why not leave me a comment – I would love to know what you think and if you have used these decorative masks yourselves. I’ve listed all the products I used below. If you canclick on the images to go directly to that item in my Stampin’ Up! on line store. Click here if you want to read about how easy it is to shop with me 24/7.
If you don’t have a demonstrator and would like to get your hands on any of our catalogues just ask. I would be happy to add you to my mailing list or answer any questions you may have.
As always, thanks for stopping by and remember to keep it crafty.
Product List
