Happy Sunday!
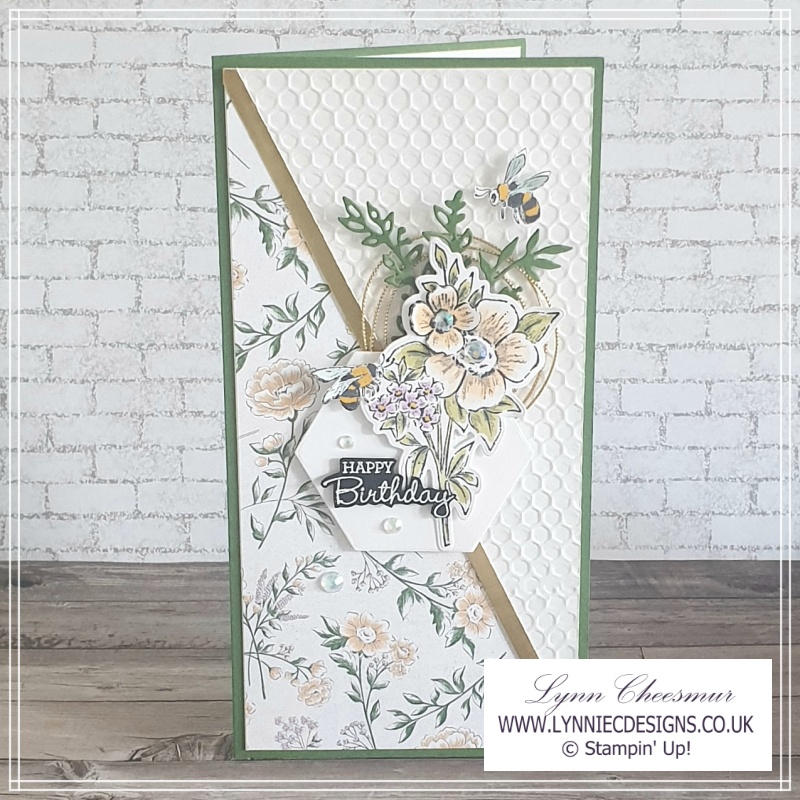
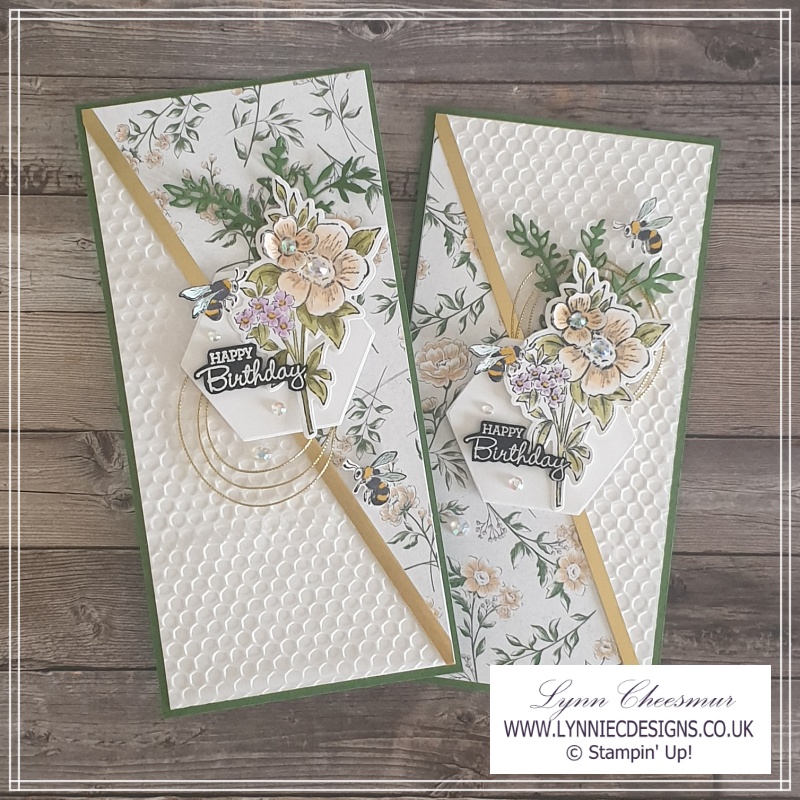
Today I’m sharing a slimline birthday card that I designed for the June sketch challenge over at The Stamping Cove. Sketches are a great starting point for a card or project and can really help to spark the imagination and I had a lot of fun putting this card together using products from the Heart & Home Suite from the January – June 2022 mini Stampin’ Up! catalogue.
Below is the sketch we used to inspire us and as soon as I saw the hexagon I thought of the Beautiful Shapes Dies and the Heart & Home Suite, which includes the gorgeous Hive 3D embossing folder.

Did you know that you can use embossing folders on larger pieces of card?
First insert your card in the embossing folder and run it through your die-cutting machine. Next, move the card up or down in the folder, lining up the design (if necessary) and run it through your machine again. This a great way to stretch your products and is quite easy to do, even with the Hive 3D embossing folder.
As I only used half of the embossed vellum and half of the patterned paper, I was able to make a second card, the details for which you can find below. My colour palette was inspired by the piece of pretty patterned paper that I used from the Heart & Home designer series paper – Garden Green, Pale Papaya and Fresh Freesia.
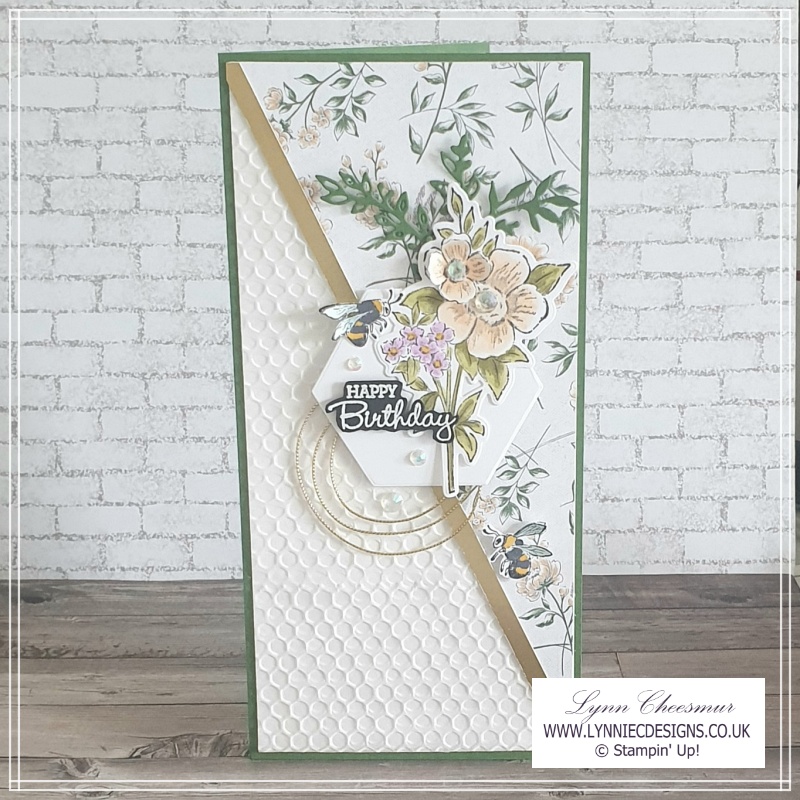
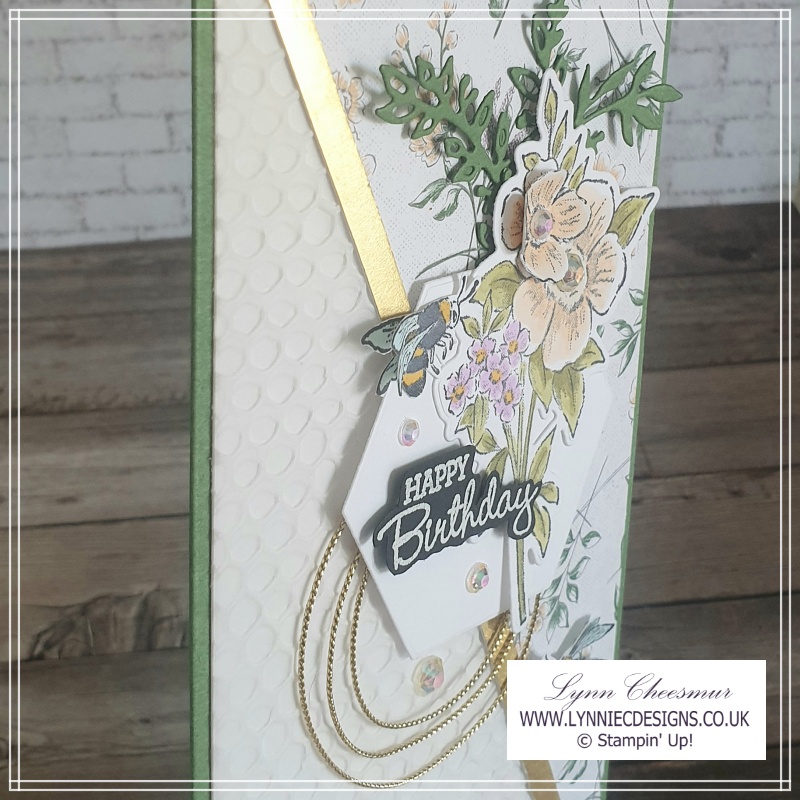
In my humble opinion, white heat embossing on black card really makes a sentiment pop. And for me when the heated powder melts it’s like magic. In my video I share something I’ve been doing recently when I get my heat tool out.
For the bees, I stamped them each twice and fussy cut them, rather than using the dies, and layered them so they look like they are flying off the card – you can see what I did by watching the free tutorial video where I make a second version using the extra pieces of embossed vellum and patterned paper.
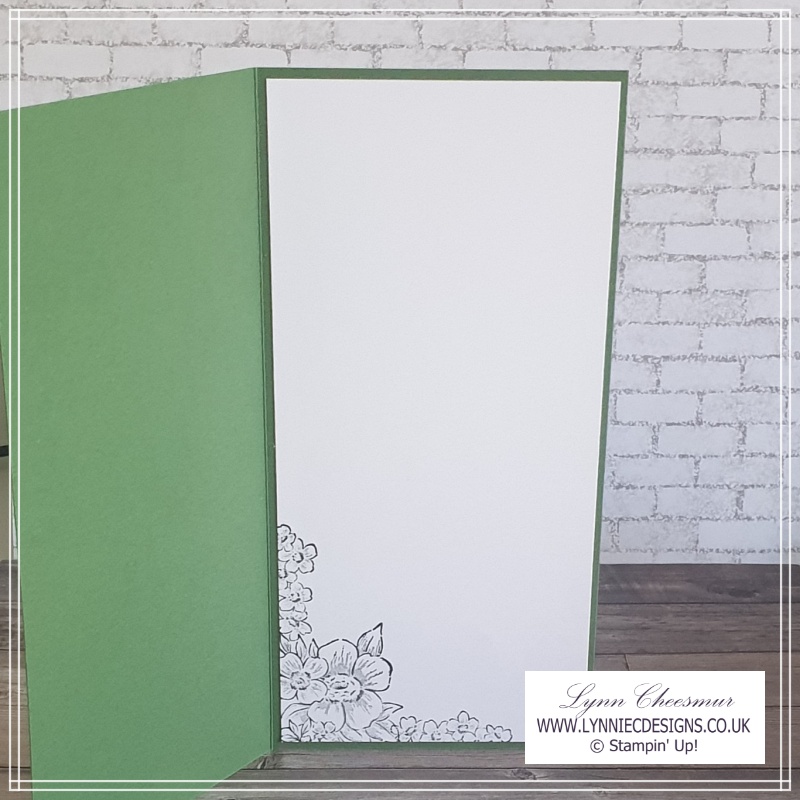
Stamping flowers to the inside piece of Basic White helps to tie it all together but I decided against colouring them in. I may well stamp the envelope as well and / or add some of the same patterned paper to the envelope flap.
Supplies
Stamps:
Blessings of Home, Honeybee Home, Pansy Patch (I said Pansy Punch in the video LOL!)
Cardstock:
Garden Green 20cm x 20.5cm – scored at 10cm
Basic White 9.5cm x 20cm (x2)
Basic White quarter sheet of A4 for stamping and die cutting
Garden Green 4cm x 6cm
Basic Black 4cm x 6cm
Vellum 9.5cm x 20cm
Gold Foil 0.5cm strip
Designer Series Paper:
Heart & Home 9.5cm x 20cm
Inks:
Memento Black, Versamark
Accessories:
Gold Simply Elegant Trim, Iridescent Rhinestones, White Emboss Powder
Tools and Adhesives:
Flowers of Home and Beautiful Shapes dies, Hive 3D Embossing Folder, Stampin’ Blends (Basic Black, Crumb Cake, Daffodil Delight, Fresh Fressia, Old Olive, Pale Papaya, Pool Party), Multipurpose Liquid Glue, Mini Stampin’ Dimensionals, Tear & Tape, Heat Tool, Paper Snips
Instructions:
- Cut and score card base
- Emboss vellum and cut in half diagonally
- Cut dsp in half diagonally
- Glue one piece each of vellum and dsp to basic white layer and cover seam with gold foil
- Stamp flowers and bees then colour with Stampin’ Blends
- Die cut and fussy cut the stamped images and floral dies
- Heat emboss sentiment and fussy cut
- Coil gold trim and add to panel with tear & tape
- Add hexagon with dimensionals and arrange flowers etc
- Stamp flowers to the other Basic White panel and add to inside of card
- Add iridescent rhinestones
- Glue the whole panel to the card base
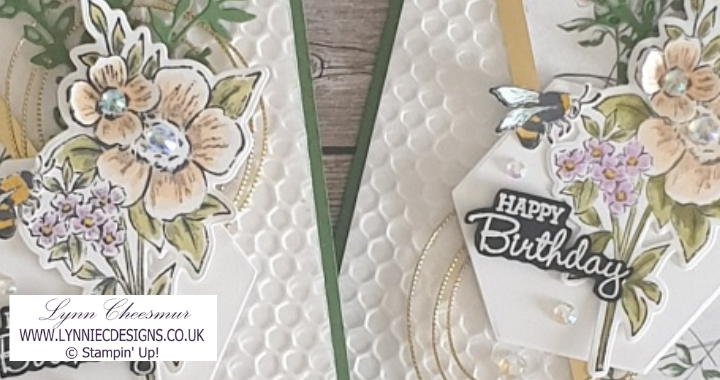
Here are the two cards side by side – the first (one the right) is slightly shorter for some reason. As the gold elegant trim is mostly hidden on the first card, on the second one I placed it below the label instead of behind the flowers. It always amazes me how different cards can look just by moving elements around.
I made a quick video of the first card I made which you can watch over on my YouTube channel.
Thank you for visiting my blog today, I hope you enjoyed my project. I’ve listed the products I used below, just click on the images to go directly to that item in my Stampin’ Up! on line store. Click this link to learn how easy it is to shop with me.
I really appreciate your support, it helps inspire me to keep crafting, blogging and creating content for my YouTube channel. If you live in the UK and don’t already have a Demonstrator I would love to be yours.
I have really enjoyed being a part of the Stamping Cove Design Team and am delighted to say that I will be staying on as a part of the Design Team for the rest of the year.
As always, thanks for stopping by and remember to keep it crafty.
Lynn
xxxxx
Product List


Do you have the measurements in inches? Please
If I was recreating in inches, I think I’d make the base 8″ x 8″ scored at 4″ to make it simple and then the next layer would be 7 3/4″. Hope that helps x