Happy New Year!
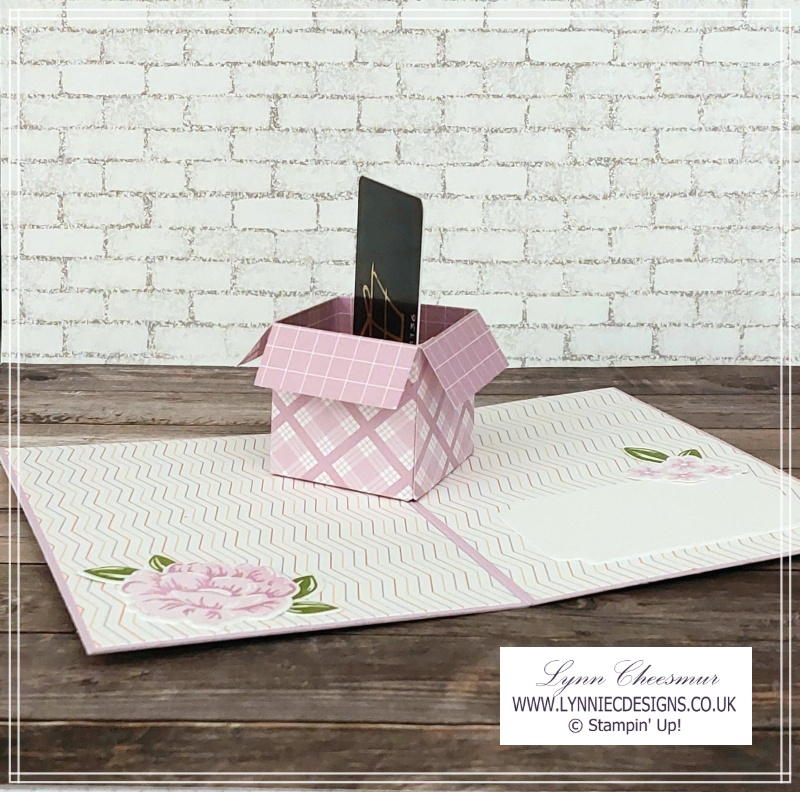
Today I want to show you a cute fancy fold project with a pop up box in a birthday card that can hold either a gift card or money. I made four of these cards for my nieces and nephew for Christmas but completely forgot to take any photo’s so decided to make another example to share with you guys.
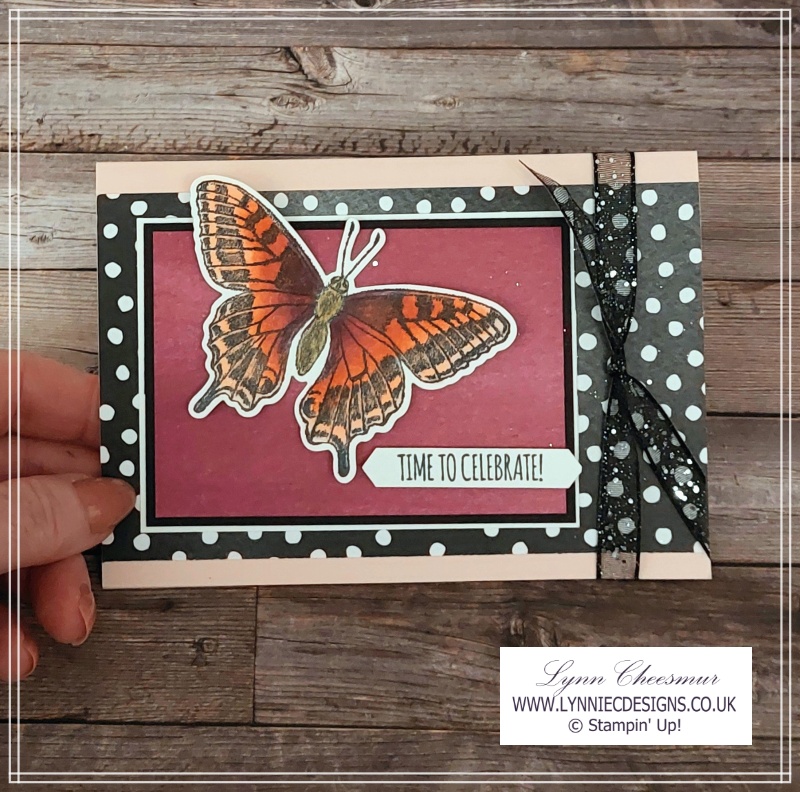
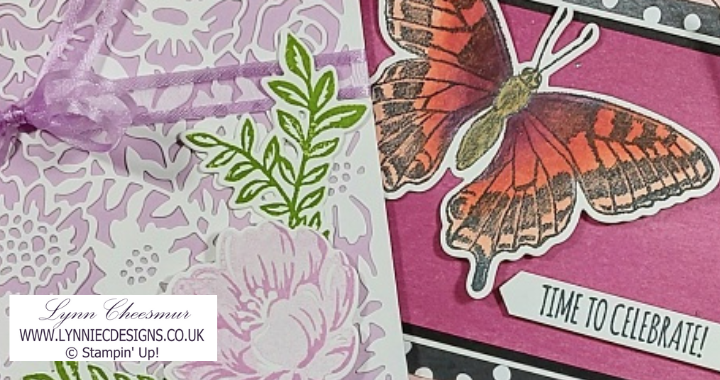
For my example, I used retired dsp and ribbon from my stash and the butterflies (made with Butterfly Brilliance bundle) were sitting in my box of bits. Please tell me I’m not the only crafter with a box full of spare bits and pieces left over from projects?! It always feels so good to use bits from that box on projects. The sentiment is from Biggest Wish.
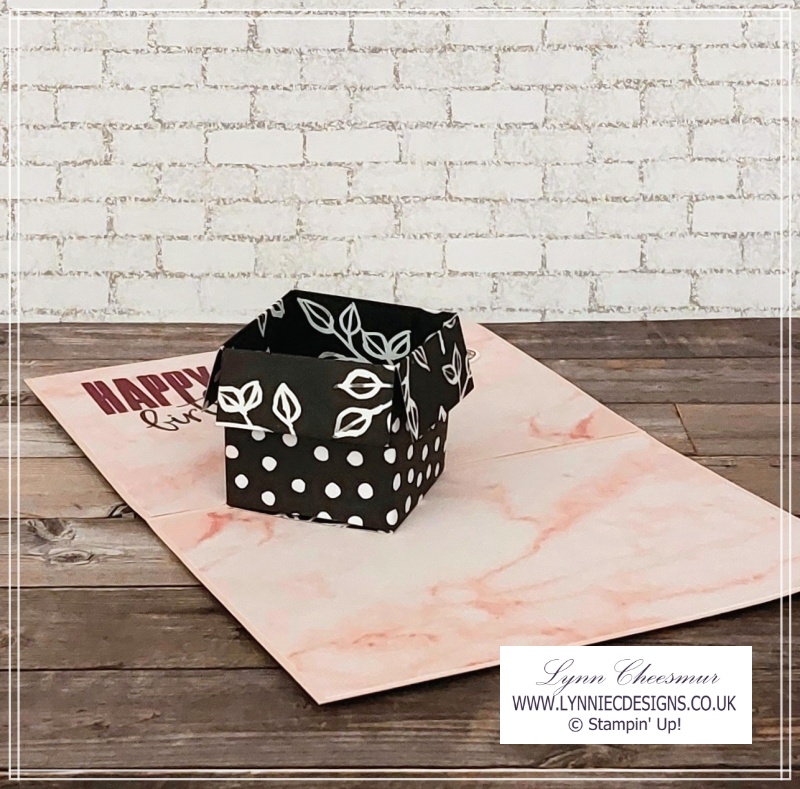
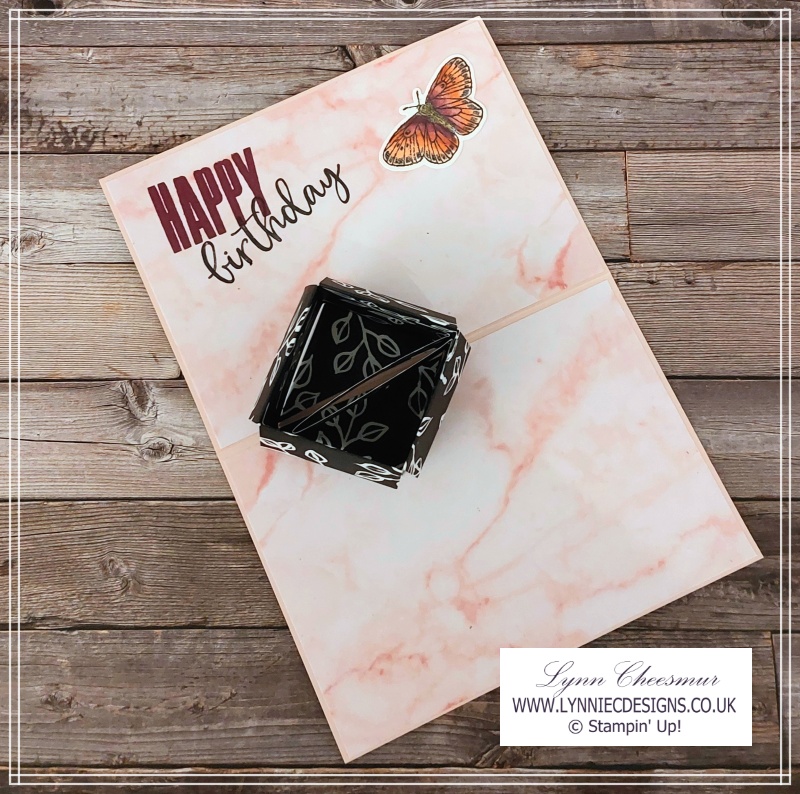
Pop Up Box in a card
If you have been here before you know that I LOVE fancy fold projects. So when I saw this pop up box in a card on YouTube I had to CASE it. Go check out and follow @TanuCreative. Tatjana is a talented papercrafter from Germany and shares some amazing projects. If you would like to see another fancy fold card you can click here.
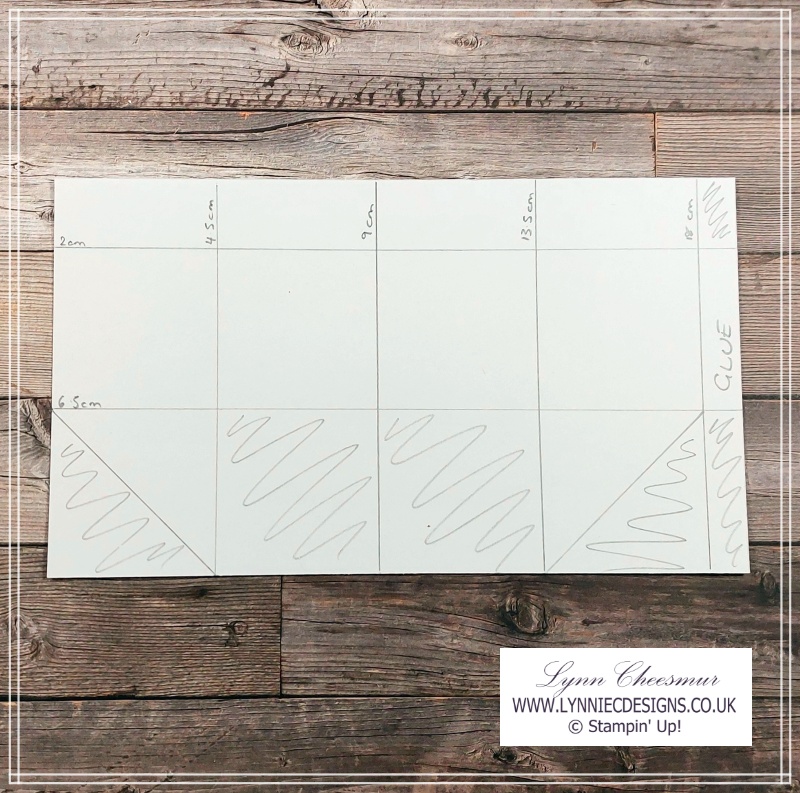
When I make a fancy fold project I usually make a template and the one above is for the pop up box. The next example gives you a sneak peek at some gorgeous products from the upcoming mini catalogue and SALE-a-bration leaflet. If you’re a Stampin’ Up! demonstrator you may already have them but if you’re not you can purchase them through my online store by clicking this link from Thursday, 5 January 2023.
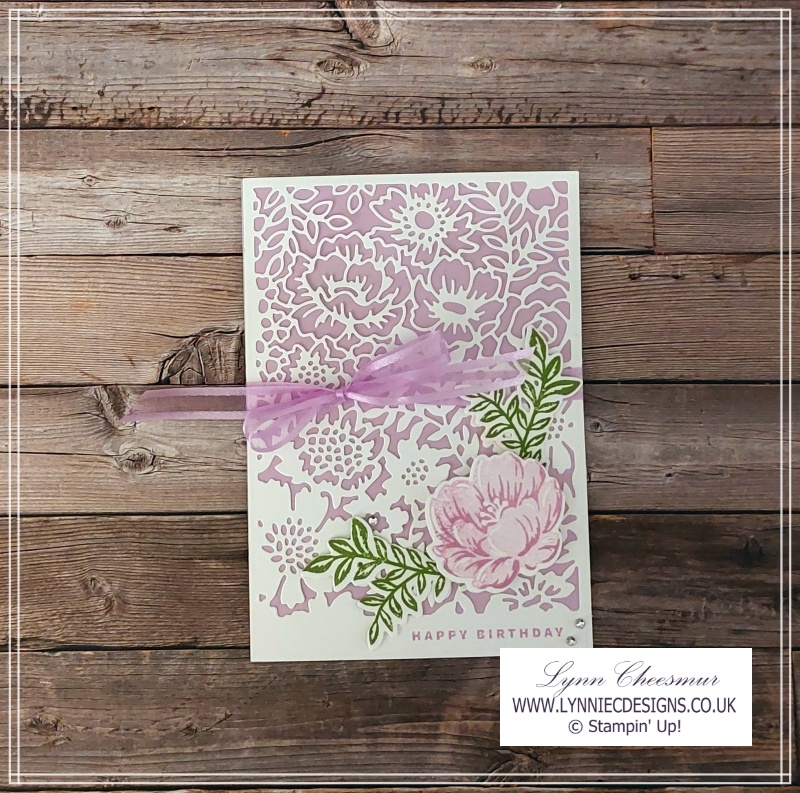
When this type of fancy fold card is closed, like mine with a simple ribbon or a belly band, you have no idea what is on the inside. Then when you untie (or slide off) the ribbon and open the card you find a surprise pop up box that holds money or a gift card.
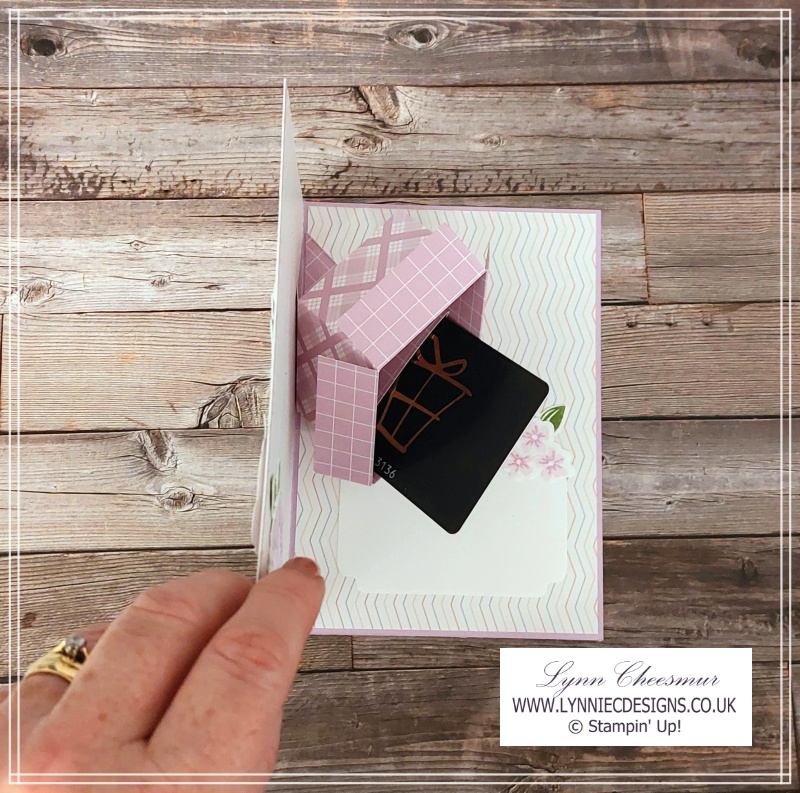
How cool is that?
Supplies you need to make this Pop Up box in a card
Stamps/Bundles:
Two Tone Flora and Something Fancy
Cardstock/Designer Series Paper:
- Fresh Freesia 14.8 x 21cm scored @ 10.5cm
- Basic White 10.5 x 14.8cm
- Basic White half a sheet of A4 for stamping and die cutting
- Dainty Designs 12″ x 12″ dsp 10.2 x 14.5cm (x2)
- Dainty Designs 12″ x 12″ dsp 11 x 19cm and 2 x 14cm
Inks:
Fresh Freesia and Granny Apple Green
Accessories:
Basic Rhinestones and Fresh Freesia Open Weave ribbon
Tools and Adhesives:
Paper Trimmer, Multipurpose Liquid Glue, Stampin’ Dimensionals
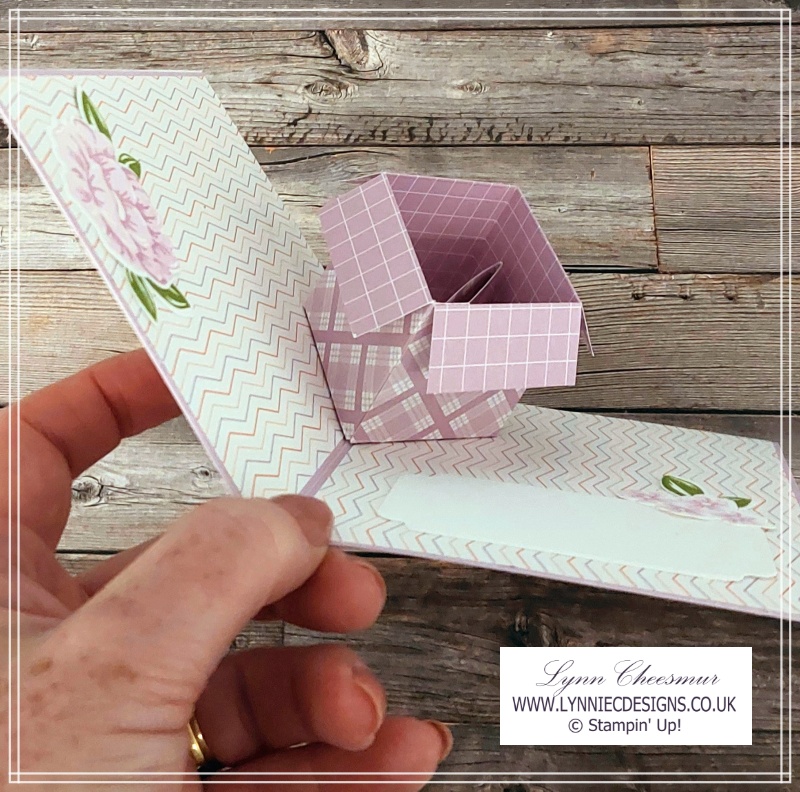
If you would like to watch me make one this pop up box in a card please click below.
If you are interested in purchasing any of the current products used simply click on the photo’s below to go to that item in my Stampin’ Up! online shop. If you would like more information about shopping with me click this link.
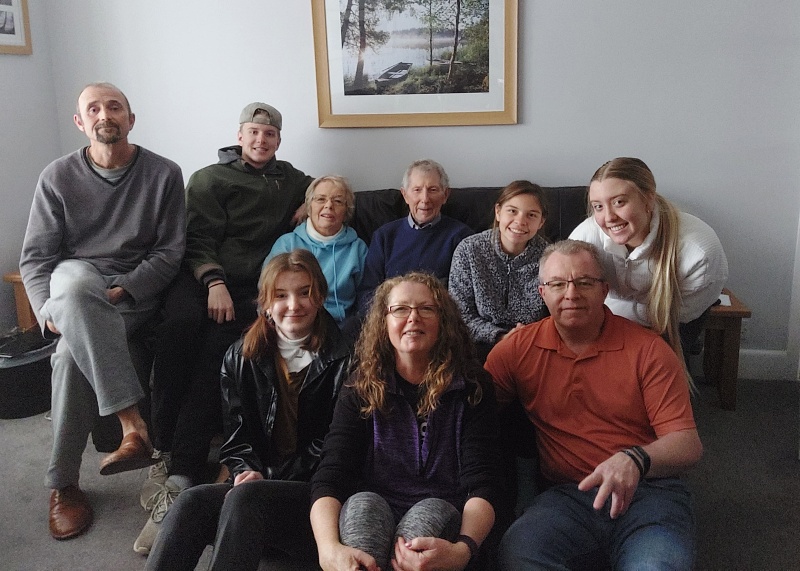
If you’re reading this, I hope you had a wonderful Christmas. We spent Christmas day with my parents and step-father-in-law but I was so busy cooking that I didn’t take any photo’s. On Boxing day my brother, nephew and nieces arrived from Denver and it was amazing to finally see and squeeze them in real life rather than catch up over zoom. It really was wonderful spending time together as a family but our little bungalow is not built for seven adults!! This is us before they headed up to London for New Years.
That’s all from me today, as always thanks for stopping by and remember to keep it crafty.


I would love to learn how to make your pop up box in a card project. I wanted to know if you have the instructions in inches instead of cm? Thank you for sharing your beautiful card.
Hi Lisa, I haven’t got instructons in inches but it would be easy to convert from cm’s. I’ll drop you an email in the week. I’m so happy you love the project.