Hello and welcome to my blog
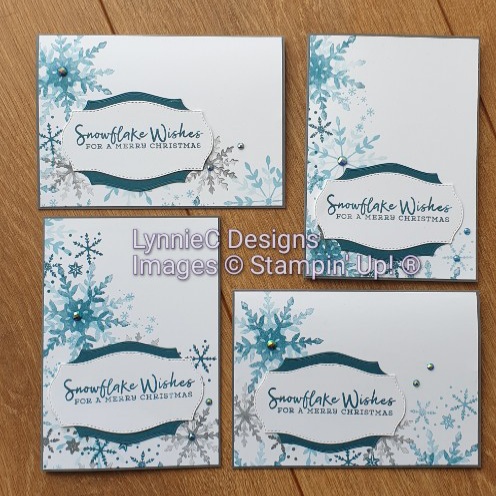
I’ve been away for a few weeks – did you miss me? There’s a lot going on at the moment that keeps interfering with my crafting time but I’m back to share another OSW (one sheet wonder). It’s that time of year when I’m making lots of Christmas cards and although I’m not keen on making lots of identical cards, I love making sets of cards.
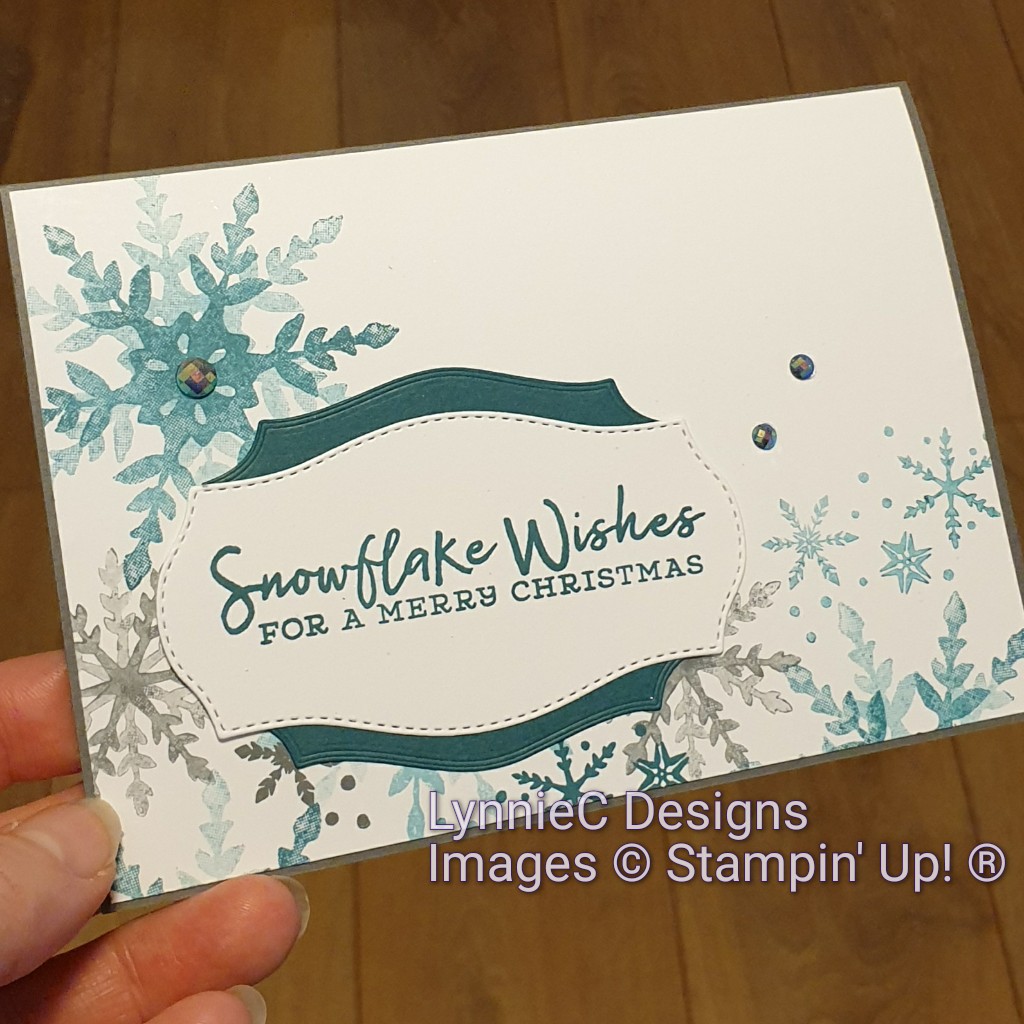
For the cards today, I used the gorgeous Snowflake Wishes photopolymer stamp set which has 17 stamps to make these four cards quite quickly. There is a video for you to watch later in this post.
Supplies
Stamp set: – Snowflake Wishes
Tools: Stampin’ Cut & Emboss Machine, Tasteful Labels dies
Inks: Balmy Blue, Pretty Peacock, Basic Gray
Accessories: Blue adhesive backed gems, Wink of Stella Clear Multipurpose glue
Cardstock: Basic Gray, Pretty Peacock and Whisper White to cut out the following:
Basic Gray card-bases 14.8cm x 21cm scored @ 10.5cm (x4)
Whisper White 10.2cm x 14.5cm for inside layers (x4)
Whisper White 21cm x 29.7cm for front layers (stamp before cutting into 4 pieces as above)
Whisper White 10.5cm x 14.8cm for sentiments (x4 die cuts)
Pretty Peacock 10.5cm x 14.8cm for layer (x4 die cuts)
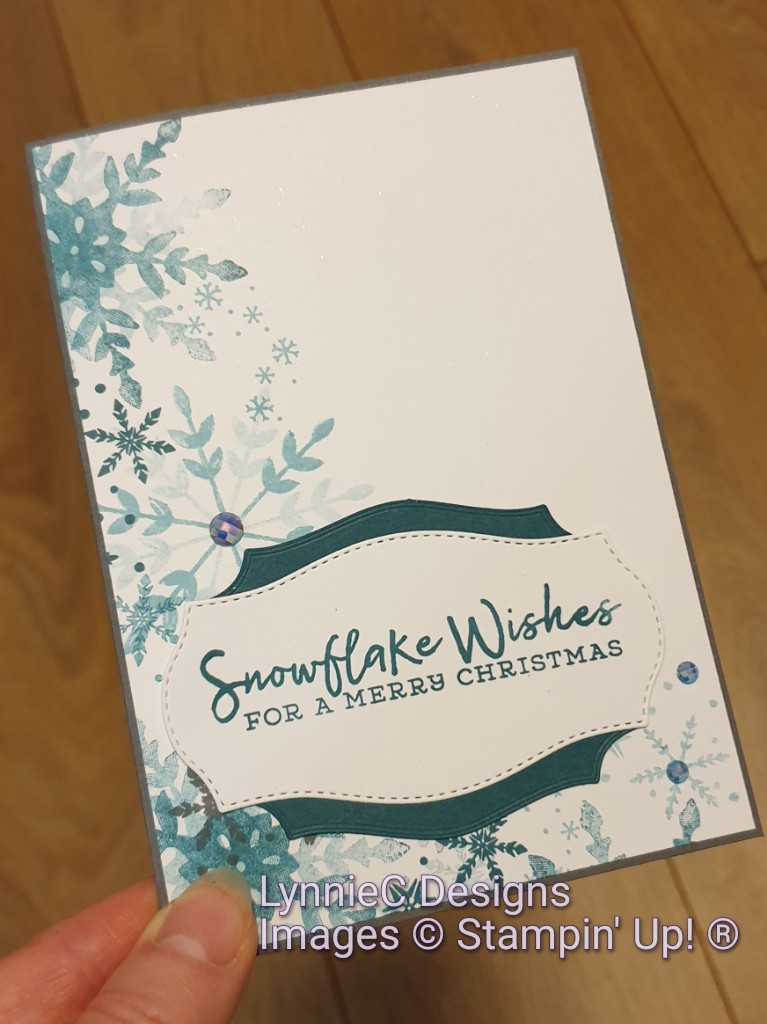
To create the fronts, stamp the snowflakes across the middle of the page both horizontally and vertically. Stamp the largest snowflakein pretty peacock ink (stamped off first), twist and re-stamp a second snowflake over the top; stamp the next largest snowflake in Balmy Blue; stamp the slightly smaller snowflake in Basic Gray (stamped off first); stamp the larger cluster in Pretty Peacock (full strength, stamped off x1 and x2) and the smallest in Basic Gray (stamped off x1 and x2). When happy with the stamping cut into 4 pieces 10.2cm x 14.5cm.
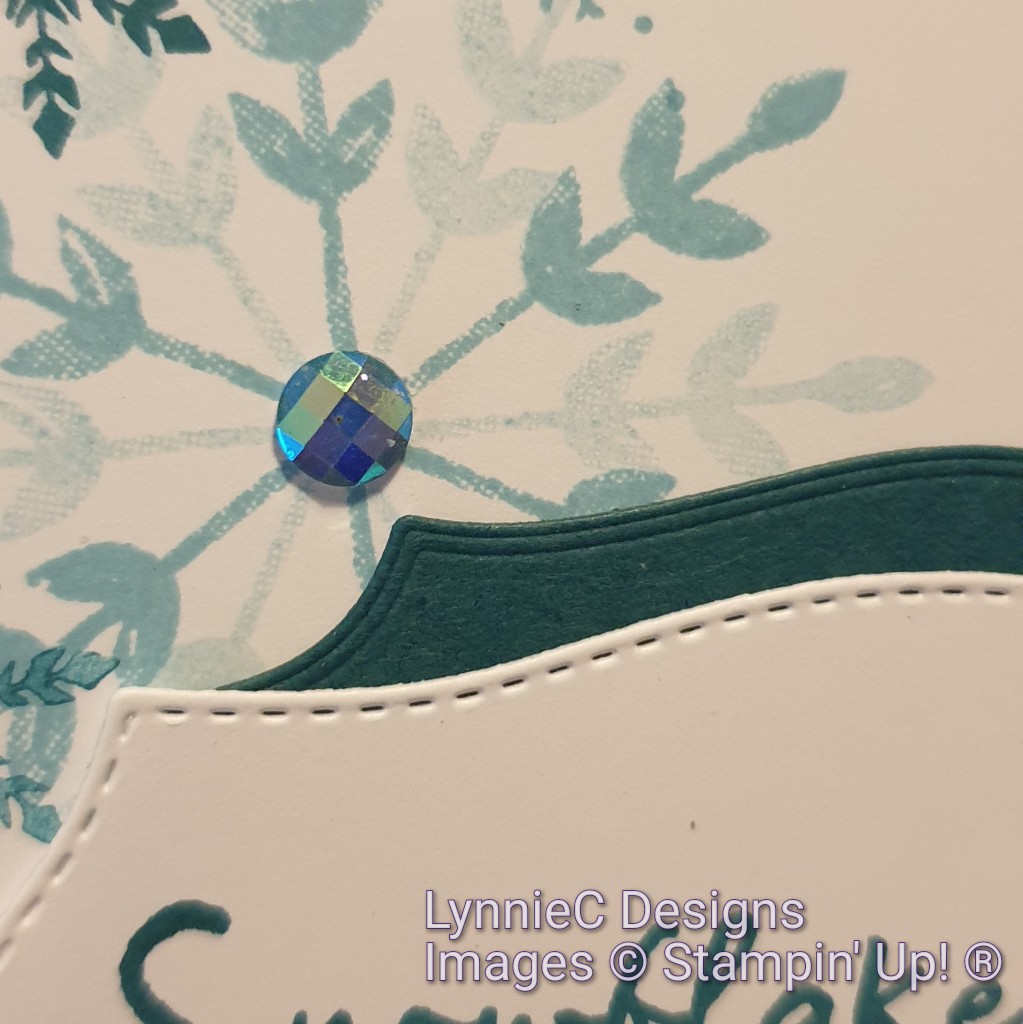
Stamp the sentiment in Pretty Peacock on the white die cut and layer on the Pretty Peacock die cut and adhere to the stamped layer. Finally add some Blue adhesive backed gems.
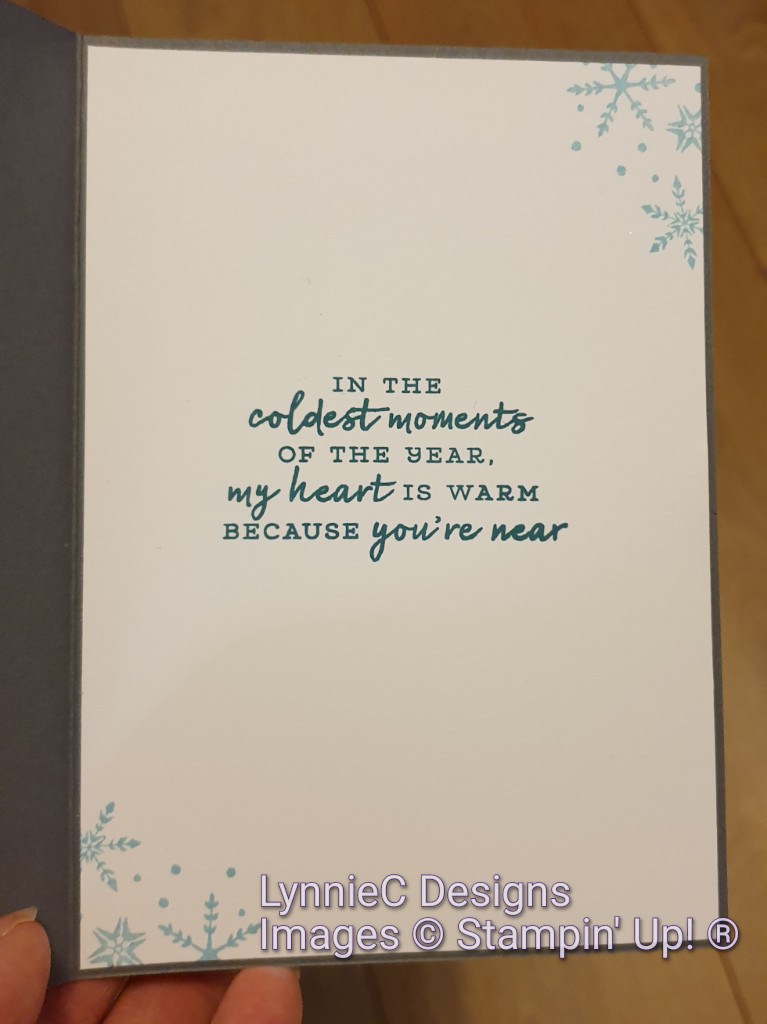
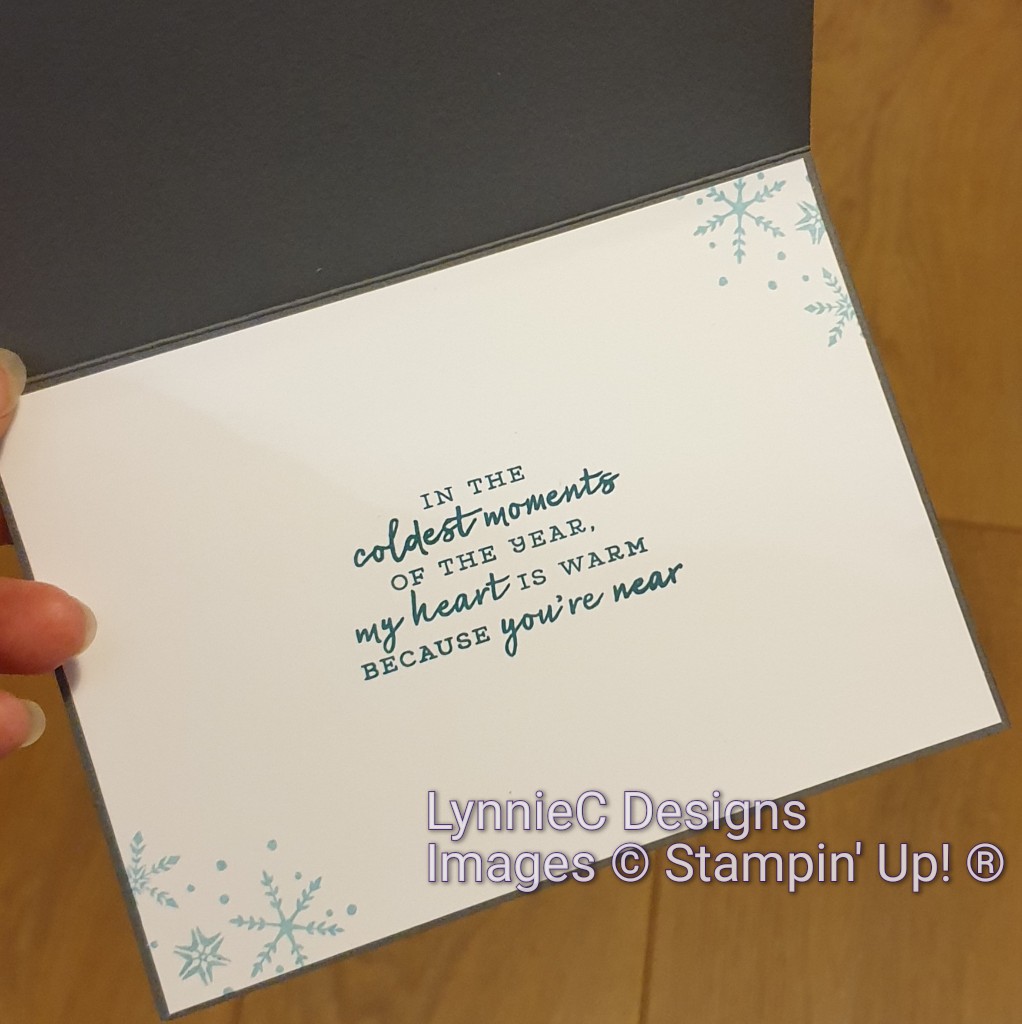
Stamp the sentiment in Pretty Peacock on the inside layer and the cluster in Balmy Blue in the top right and bottom left corners.
This produces 4 card bases – 2 of each design.
For a bit of sparkle, add some gorgeous blue adhesive backed gems and then tap wink of stella over the cards. It doesn’t show in the photo’s but it adds a fabulous bit of extra subtle sparkle.
The Tasteful Labels dies are amazing as they either add fabulous stitched or embossed detail as you can see above.
Click below to watch my video. I would love you to leave a comment and let me know what you think.
The first set of cards I made earlier in the week used balmy blue, coastal cabana, gorgeous grape and smoky slate and you can see them briefly in the video. I’ll share some photos later in the week on my Instagram page ( @lynniecheesmur )
If you live in the UK I would love to be your demonstrator. If you’d like to purchase any of the products I used you can click on the images below . Alternatively you can also contact me by email. Remember to use the monthly host code for a little thank you gift from me!
As always, thanks for stopping by and remember keep it crafty.
Lynnie C
xxxxxx
Product List
Snowflake Wishes Photopolymer Stamp Set
[153444]
£24.00
[152886]
£29.00
[106549]
£9.00
[150886]
£8.25
[121689]
£8.25
Balmy Blue Classic Stampin’ Pad
[147105]
£7.00
Pretty Peacock Classic Stampin’ Pad
[150083]
£7.00
Basic Gray Classic Stampin’ Pad
[149165]
£7.00
[153547]
£7.50
Clear Wink Of Stella Glitter Brush
[141897]
£7.50
[110755]
£3.75
[149653]
£112.00
