Hello
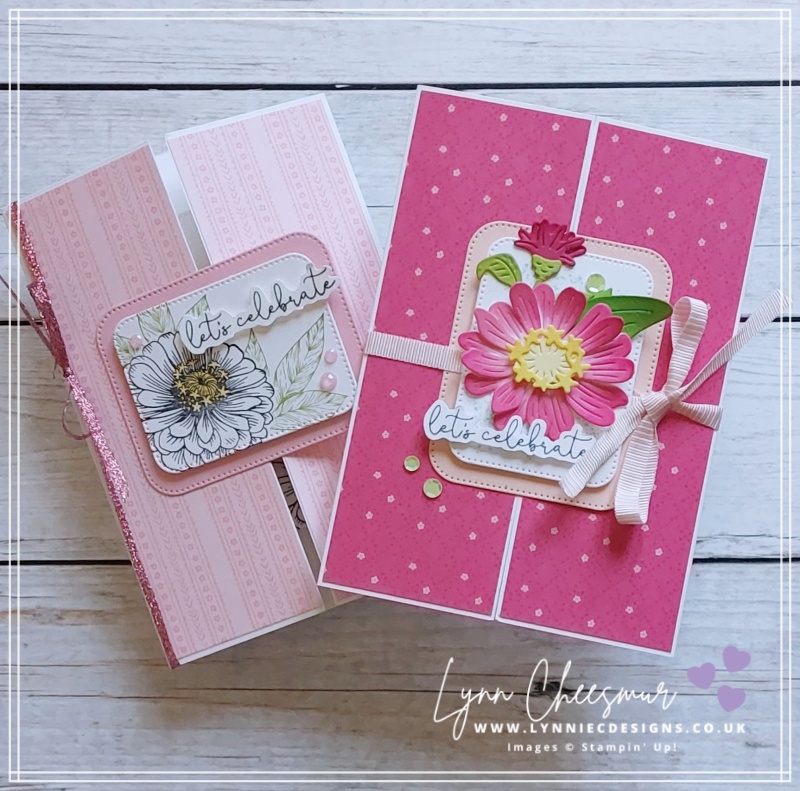
Today I’m showing you how to make a gatefold birthday card with a couple of floating pop-ups on the inside. This was one of my card class projects, but the die cut flowers were a bit fiddly so some of my lovely crafting friends simplified it, which I loved and have re-created in the video you’ll find later in this post. I enjoy stretching my supplies by mixing elements from different stamp sets. So for these projects I used Simply Zinnia, Spotlight on Nature and Sentimental park as well as other Stampin’ Up! products.
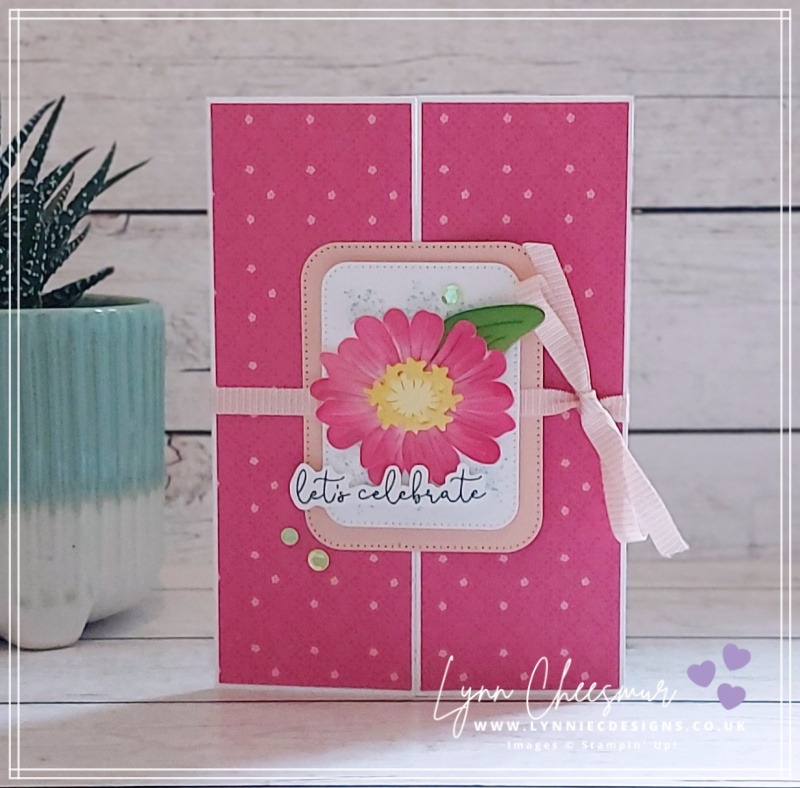
What is a Floating Pop-up Gatefold card?
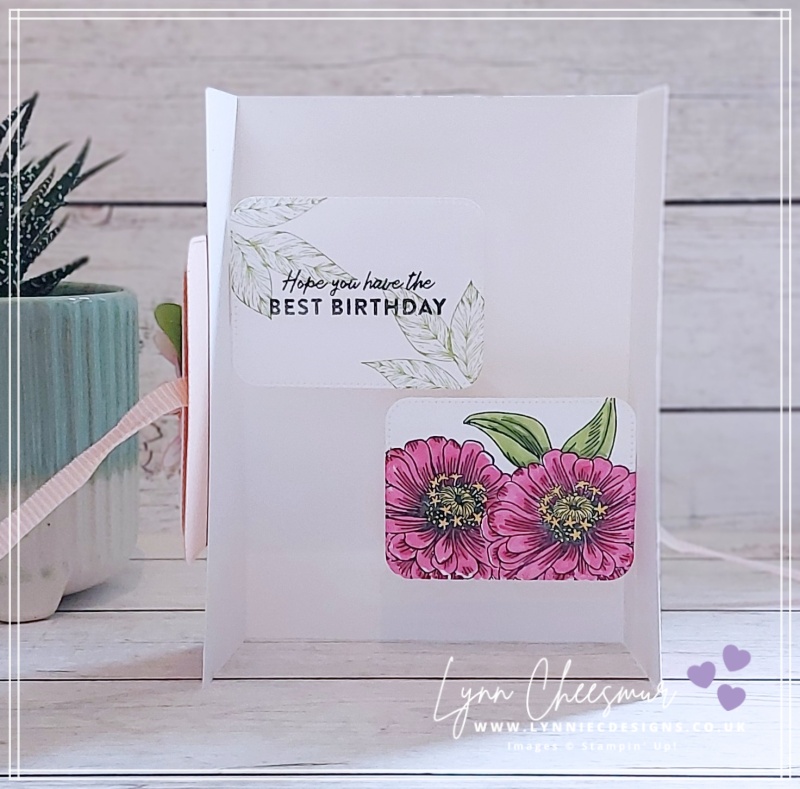
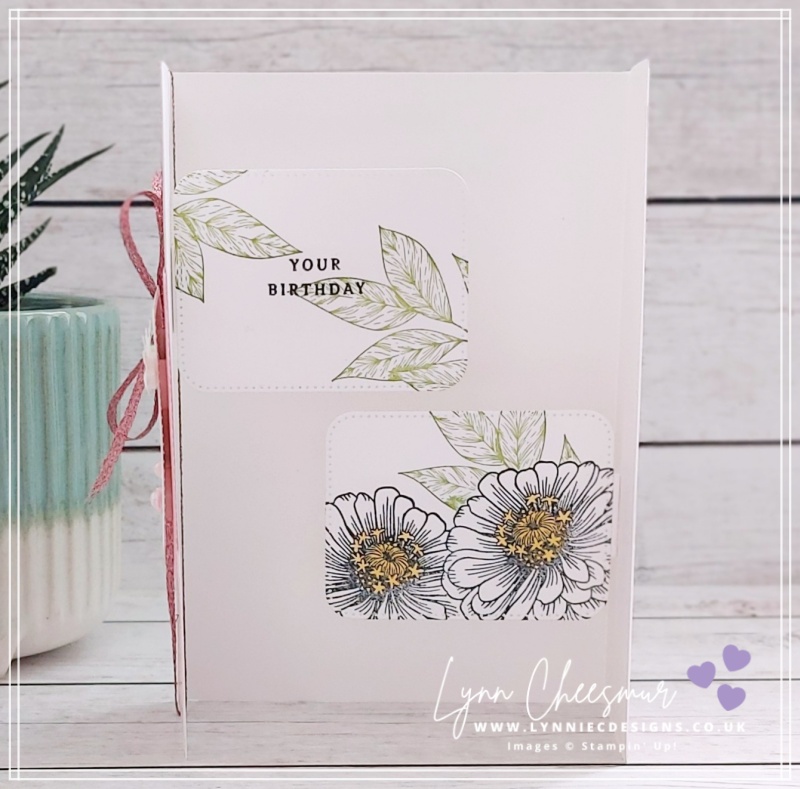
Well, a gatefold card is easy to make. It is a rectangular piece of card that’s folded in from both sides to create two panels that meet in the middle, resembling the opening of a gate. When the flaps are opened outward, they reveal a message or design. Inside these cards there are two panels that pop-up when you open the card. In fact, they seem to be floating, because they are attached to the base by a hidden piece of card. You can click here to see another card I made like this a few years back.
The gatefold panels on the front of both cards are decorated with a 12″ x 12″ designer series pack that I earned during a recent promotion. This is a pink version of Countryside Inn 12″ x 12″ dsp which is part of a 15% discount promotion through to 31 August 2024.
Making it simpler ….
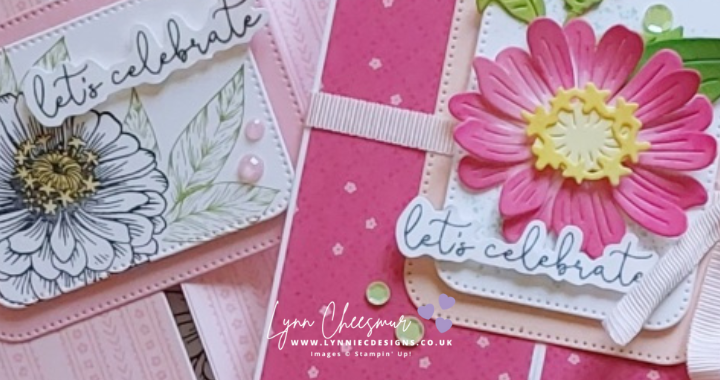
As mentioned earlier my lovely crafty friends inspired me to make a simpler version. So in my YouTube tutorial, I stamped flowers on two of the basic white panels. However, I couldn’t resist doing a bit of masking with a clear post-it note – I know, who knew there was such a thing! Masking is a great technique that involves covering part of an image to protect it from ink when stamping to create depth. You basically stamp the image you want to cover onto a post-it note, fussy cut it and stick the mask over the top of the stamped image. When the mask is removed it make images appear to overlap.
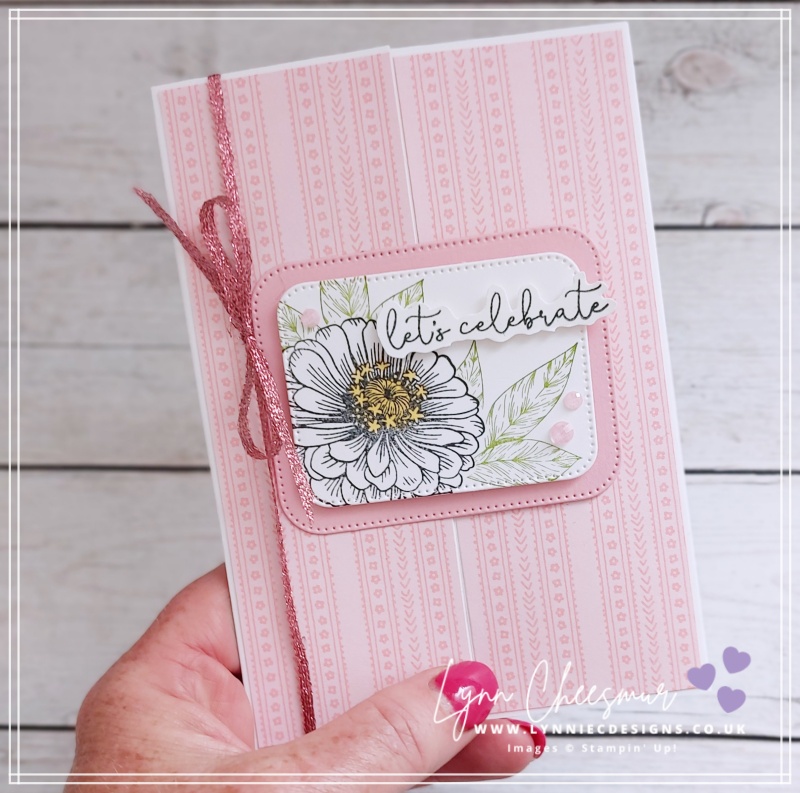
In the spirit of keeping in simpler, this time I only coloured the centres of the flower with Daffodil Delight Stampin’ Blends, while the leaves were stamped in Granny Apple Green. The sentiment on the front is from Sentimental Park sentiment on the inside was made using two of the stamps. Do you ever do that? It’s another great way to stretch our supplies.
Supplies:
- Sentimental Park, Simply Zinnia, Spotlight on Nature
- Thick Basic White 14.8 x 21cm
- Petal Pink 6.5 x 8cm
- Basic White 2 x 12cm (x2) plus half sheet for die-cutting
- Countryside Rose dsp 5 x 14.5cm (x2)
- Memento, Granny Apple Green
- Daffodil Delight Stampin’ Blends
- Pink glitter ribbon (retired), 2024-2026 In Color Shimmer Gems
- Dimensionals, Multipurpose glue
- Nested Essentials dies, trimmer, post-it notes, paper snips
Instructions:
- Cut thick basic white card base – score at 5.25cm from each side and glue dsp to gatefold panels
- Stamp and cut a mask for the single Zinnia on a post it note
- Die cut 3 x basic white labels and stamp
- Adhere petal pink label to left side of gatefold and add stamped label with dimensionals
- Tie ribbon around the card
- Glue the labels to the floating mechanism before adding to the inside (click here to watch video to see how)
- Stamp sentiment, fussy cut and add with dimensionals
- Add embellishments to finish the card
Click on the video below to watch me make the simpler version and if you aren’t already a subscriber please click that button and leave me a comment.
All of the current products used are listed below – simply click the photos to go to my Stampin’ Up! online shop. If you live in the UK, Ireland or Europe and do not currently have a Stampin’ Up! demonstrator I would love to help you discover the amazing products on offer. And, of course, if you would like more information about shopping with me click this link.
That’s all from me today, as always, thanks for stopping by and remember to keep it crafty.

Product List
")
")
")


