
Hello
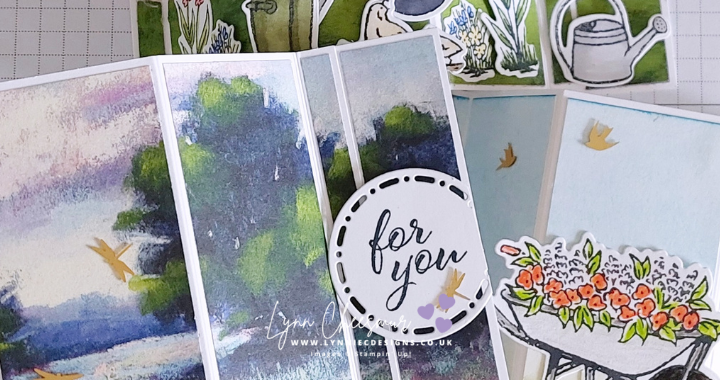
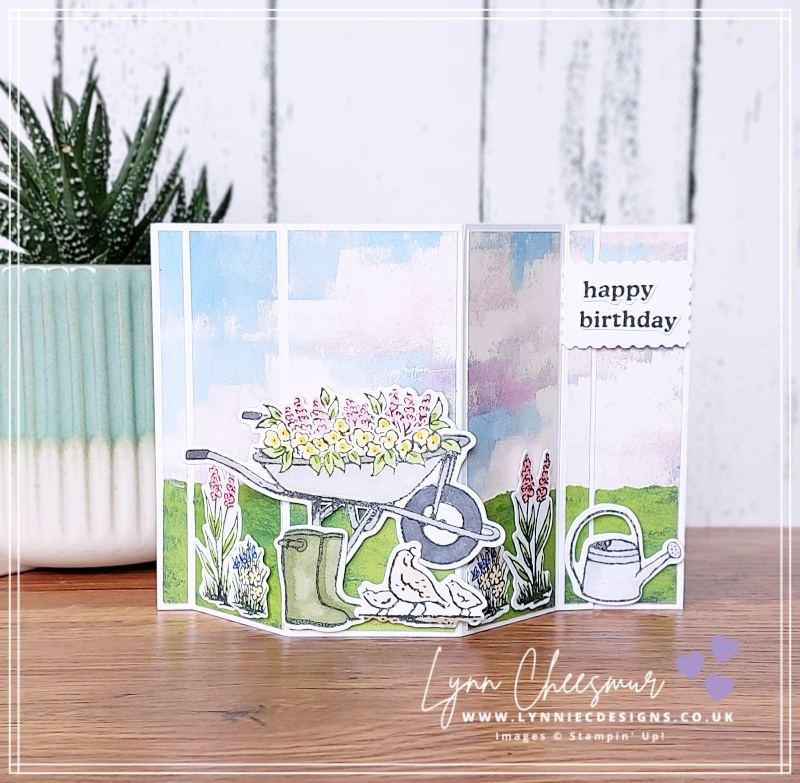
Today I’m sharing a couple of simple Bay Window Fun Fold card ideas with you. The first one was a project we made in class a few months ago and features the Garden Meadow stamp set and co-ordinating dies. At the time of writing this post these items come as a bundle (saving you 10%) as well as separately. The embellishments used are the Adhsive-Backed Dragonflies & Birds.
This card was actually inspired by a lovely Bay Window swap I received from Claudine Laine, a French Stampin’ Up! demonstrator, who was attending her first demonstrator event called Onstage earlier this year. You can see her gorgeous card on the right below.
The background for my card was made with blending brushes using Granny Apple Green and Balmy Blue ink and then trimmed into separate panels. The stamped images were coloured with watercolour pencils before being die cut and arranged on the front. While the sentiment label was made with the retired postage punch.
What is a Bay Window fun fold?
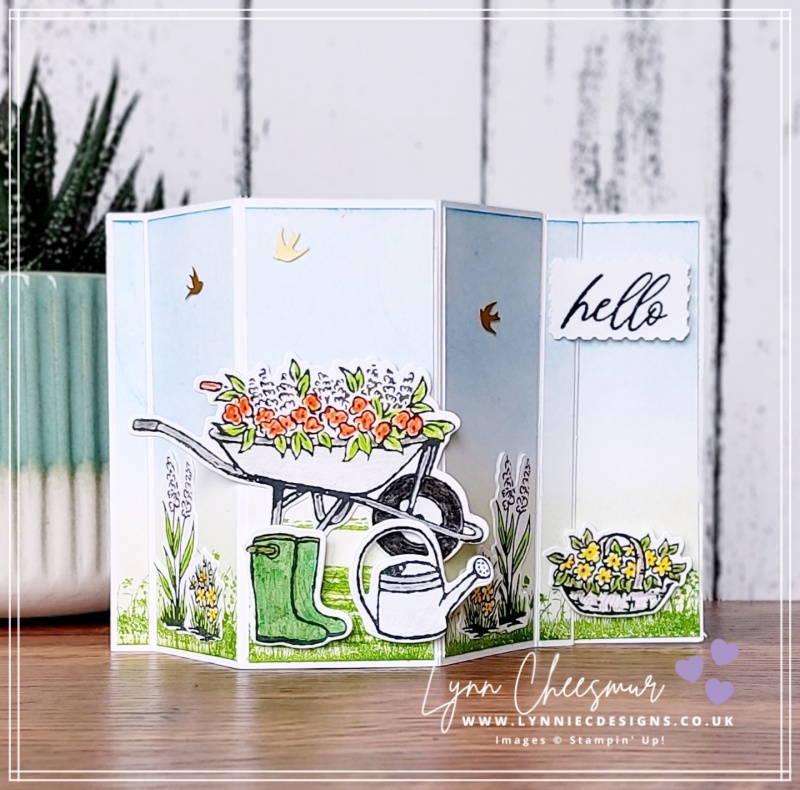
This style of card is so easy to make. You simple score the front panel of the card to create a Bay Window / pop out section and then make a stopper on the inside. Maybe not the best description, but in the video later in this post you can see me make a quick version using some gorgeous designer series paper, so all will become clear!
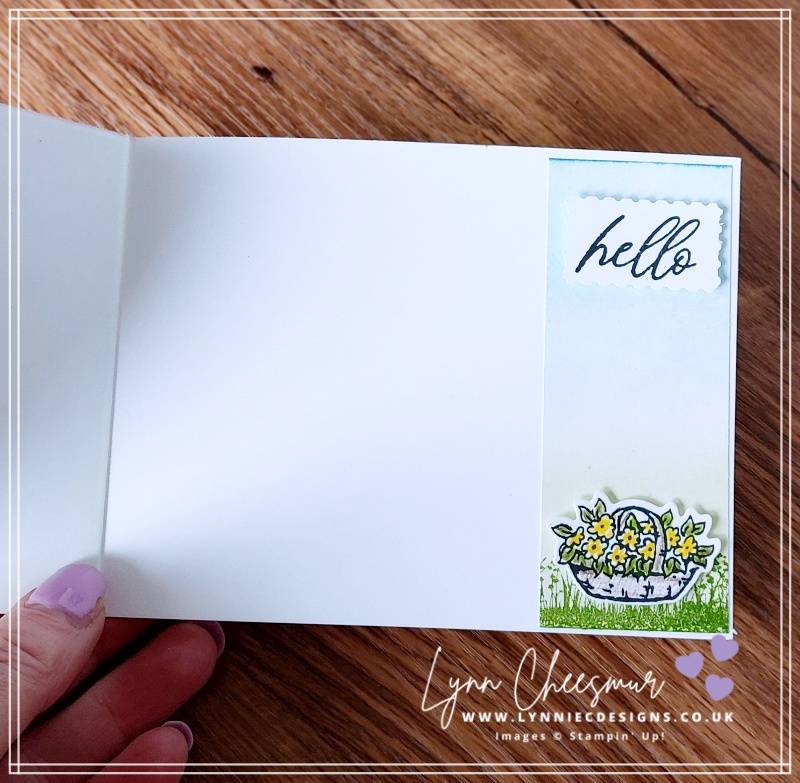
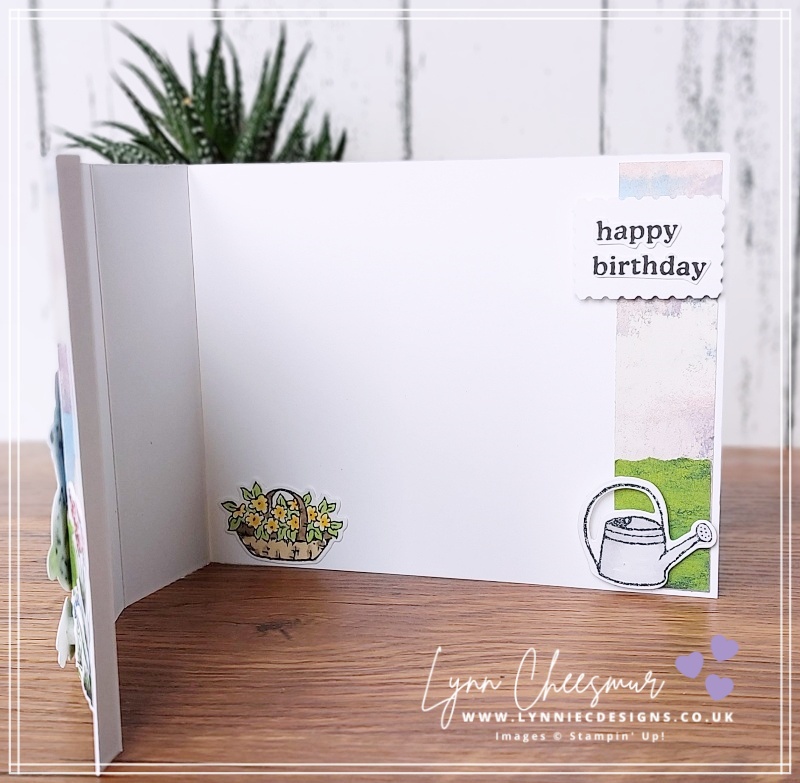
As you can see the Bay Window lays flat when you want to send your card and the background on the front flows through to the inside. The sentiment and basket are popped up on dimensionals to create the stopper. Click here to see a slightly larger Bay Window card that I made a few years ago!
Using Designer Series Paper in our cardmaking
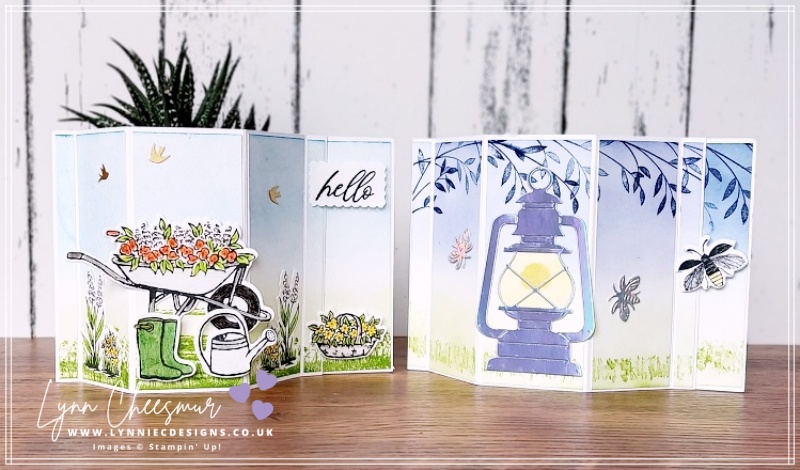
If you’re anything like me you have a large “collection” of designer series paper. Now I’m on a mission to use it rather than collect it. So for my next example I used some of the Meandering Meadow 6″ x 6″ designer series paper for the background and I love how it turned out.
It’s confession time ….. I wanted this card to be the video tutorial for this post but hit pause half way through and then forgot to press record again …. so you’ve got the card below instead …. sorry, I’m such an airhead at times!
Instructions for this Bay Window card
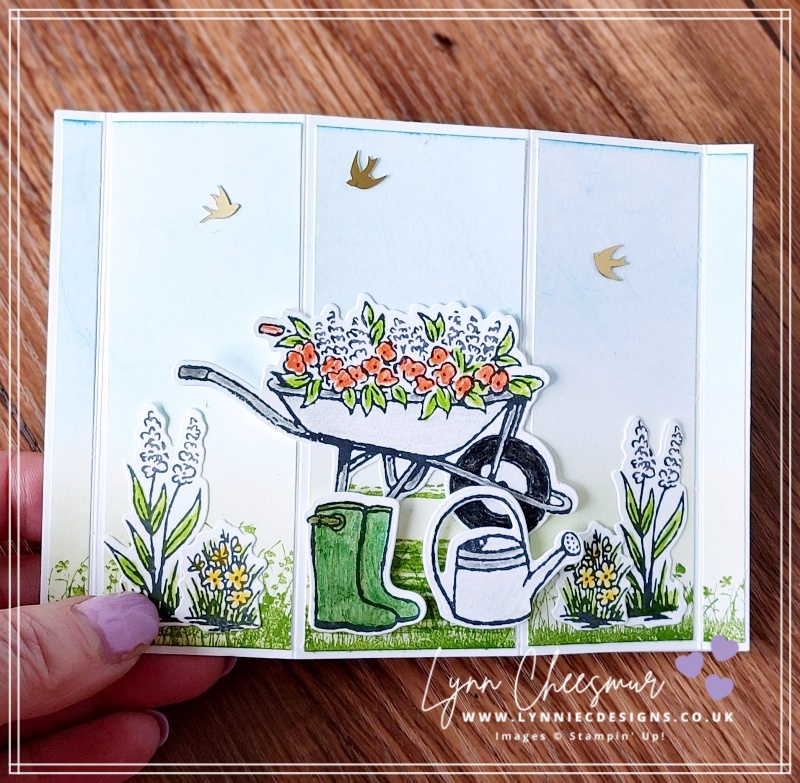
I started with a piece of Thick Basic White card measuring 29 x 10.5cm and scored it at 1, 5, 9.5, 13.5 and 14.5cm. Next I trimmed the bottom off a piece of 6″ x 6″ dsp so it was just over 10cm high. This was cut into strips measuring 0.7, 3.7, 4.2, 3.7 and 0.7 to fit the scored sections on the front, keeping what was left for the inside. (I know some of these are tiny but you could alter the placing of the score lines to change that up if you want to make them bigger.)
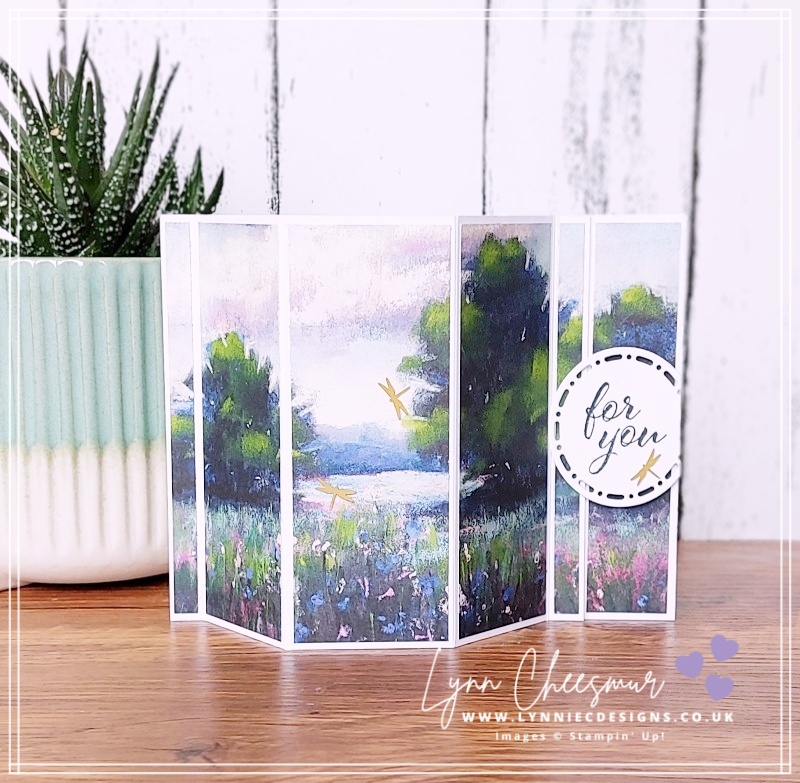
Then I used one of the Spotlight on Nature dies that I had hanging around on my desk for the sentiment and popped that up with mini dimensionals to make the stopper. I love the simplicity of this card. What do you think. Click below to watch my free tutorial.
All of the current products used are listed below – simply click the photos to go to my Stampin’ Up! online shop. If you live in the UK and do not currently have a Stampin’ Up! demonstrator I would love to help you discover the amazing products on offer. And, of course, if you would like more information about shopping with me click this link.
That’s all from me today, as always, thanks for stopping by and remember to keep it crafty.

Product List
")
")

 Designer Series Paper")


