Hello
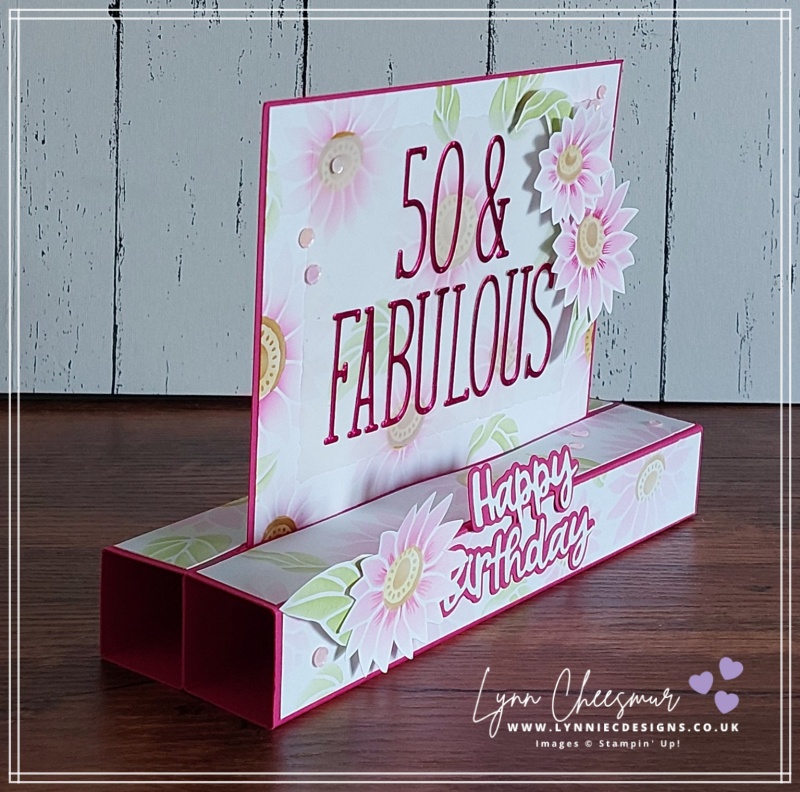
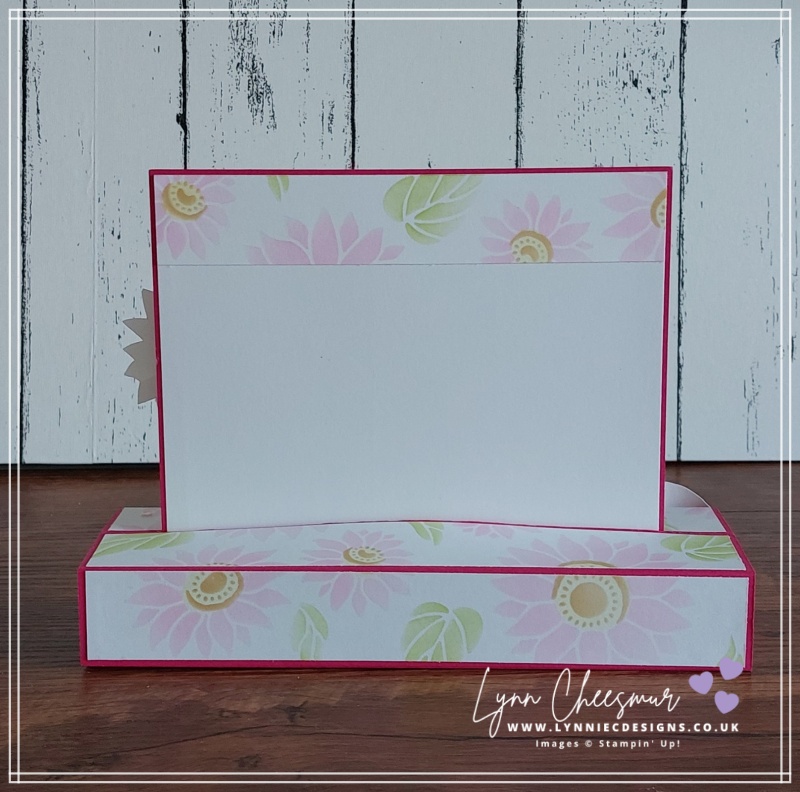
So today I want to show you how easy it is to use decorative masks in your cardmaking to achieve an fabulous background. Now the card I’m sharing is a large pop up birthday that I made for a friends “big” birthday. It’s a larger version of the pop up cards I shared before, click here to see them.
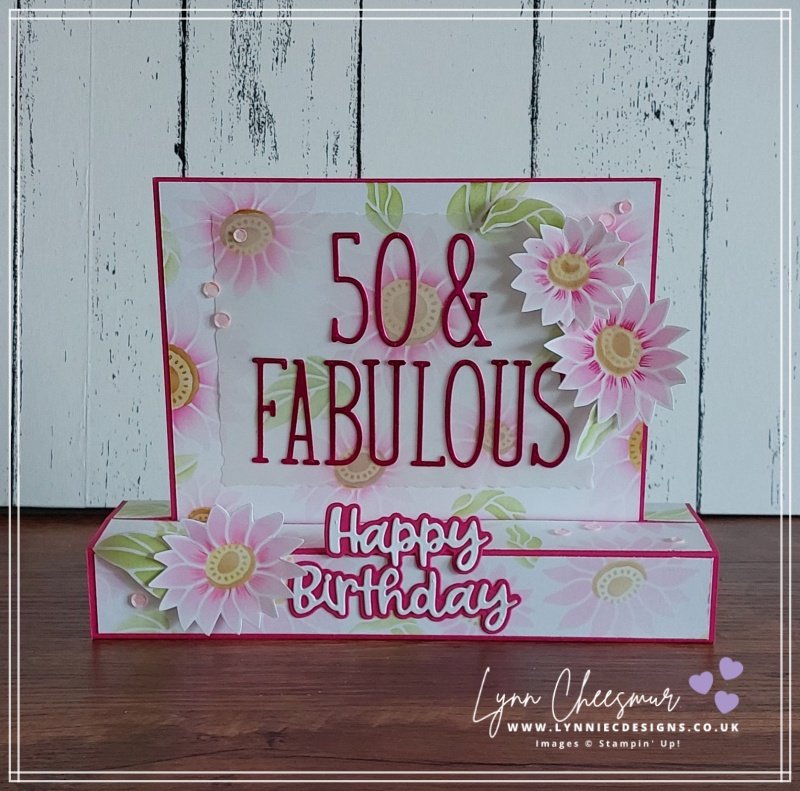
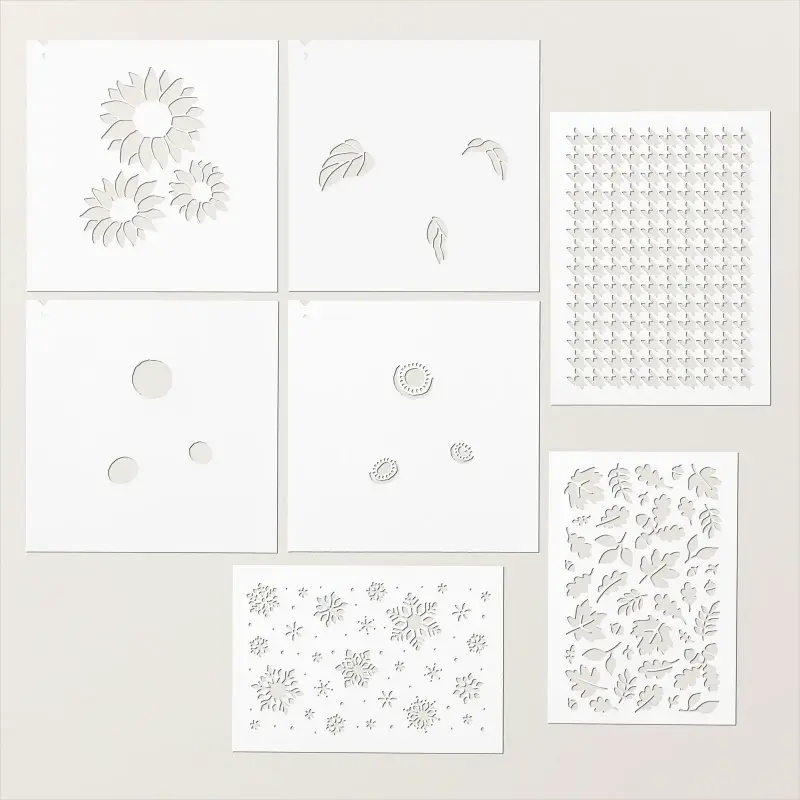
For the card base, I used Melon Mambo cardstock and opted to make my own background using the Abundant Beauty Decorative Masks. There are seven masks in this set, as you can see below, and they are all so easy to work with. In fact I’m a little obsessed with masks at the moment. You can see another card here using the snowflake mask. For today’s card, I used the four layering flower masks, which are numbered in the top left hand corner under the notch, which make them so easy to use.
Do you use decorative masks in your card making?
Firstly, you can use masks with ink and blending brushes like I have, or sponge daubers. Equally if you want to add texture you can apply embossing paste with a palette knife. Did you know that Stampin’ Up! have other decorative masks available at the moment; Artistic Mix and Foursquare in the annual catalogue and Loveliest Layers, which are in the UK Clearance Rack.
Using layering decorative masks
Using an A4 piece of basic white cardstock, I placed the first mask over the card, making a note of where the notch was, before applying ink with a blending brush. I then placed each mask, in order, over the same spot to add the next layer of colour. Once I had completed the first set of flowers, I repeated the process until the page was filled with flowers. It was then easy for me to cut the page up to make the panels. On another piece of basic white, I made more flowers, which I fussy cut to decorate the card.
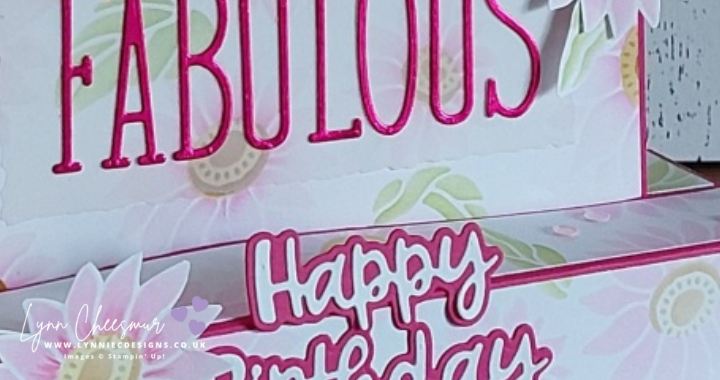
Because a card this size needs a big sentiment, I pulled out the Alphabet A La Mode dies and some Melon Mambo foil cardstock. A good tip for when using thin dies like these is to add adhesive sheet to the back of the cardstock (not masking paper!) before die cutting, as this creates stickers to make assembly easier. The numbers and letters were added to a piece of vellum die cut with the Deckled Rectangles dies so as not to cover up the background too much!
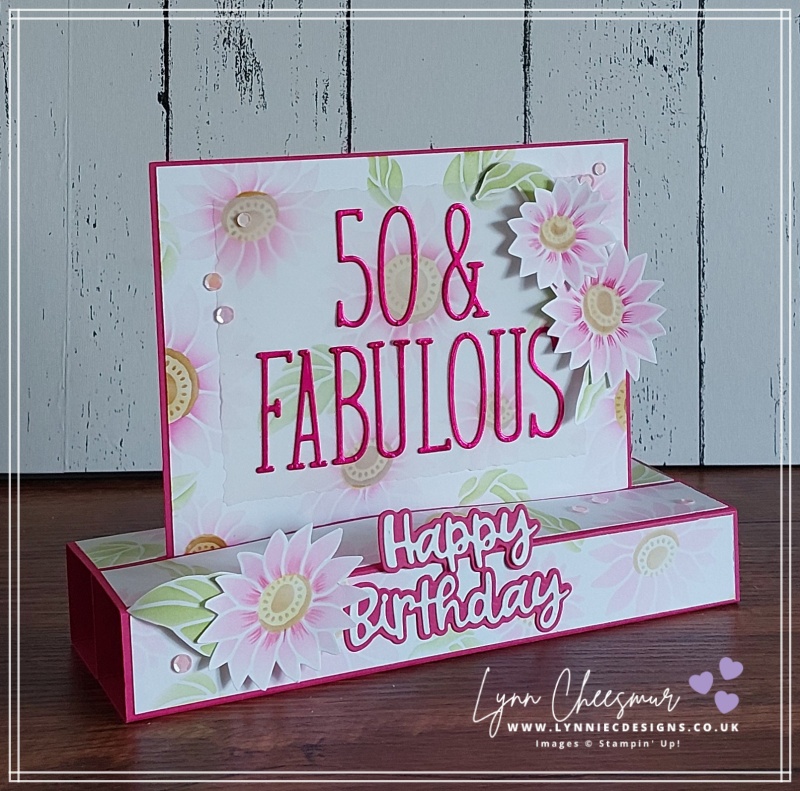
Finally, the happy birthday was made with the Wanted to Say dies and to add a bit of bling also added some of the Pastel Adhesive-backed Sequins.
If you live in the UK and would like to buy any of the products used you can simply click on the links within the blog or the photo’s below to go to that item in my Stampin’ Up! online shop. If you would like more information about shopping with me click this link.
That’s all from me today, but should you have any questions please don’t hesitate to get in touch. As always thanks for stopping by and remember to keep it crafty.
Product List


 Foil Sheets")


