Happy Sunday!
Today I want to show you how you can use a die cut shape as a stencil to create a pretty background. In my last post I showed you another way to use die cuts and mentioned a video I’d watched by Kylie Bertucci, a super talented Stampin’ Up! demonstrator in Australia, and thought this was the perfect chance to try this technique.
Global Design Project #GDP350 is a sketch challenge and the talented Design Team have created some amazing projects to inspire us. Just click on the link above to go to the Global Design Project blog to see their creations and have a look at all the other amazing entries.

Another #GDPspecialmention
Before I show you today’s projects, I’m happy to report the card I made for last week’s challenge got a #GDPspecialmention. I am so grateful to the Design Team for chosing my card from the gallery which is so lovely. Congratulations to all the winners, especially Anja Kullberg who was picked to be the Guest Designer for the next Color Challenge. I can’t wait to see what she comes up with. Anyway it was a lovely way to start my birthday week!
Back to this week’s challenge!
For my entry to #GDP350 I chose to use the Celebrate Sunflowers Stamp Set with the co-ordinating Sunflowers Dies and the Amazing Thanks Dies. There are so many ways to interpret a sketch and make it your own and I decided the large sunflower was perfect to be the circle in the sketch.
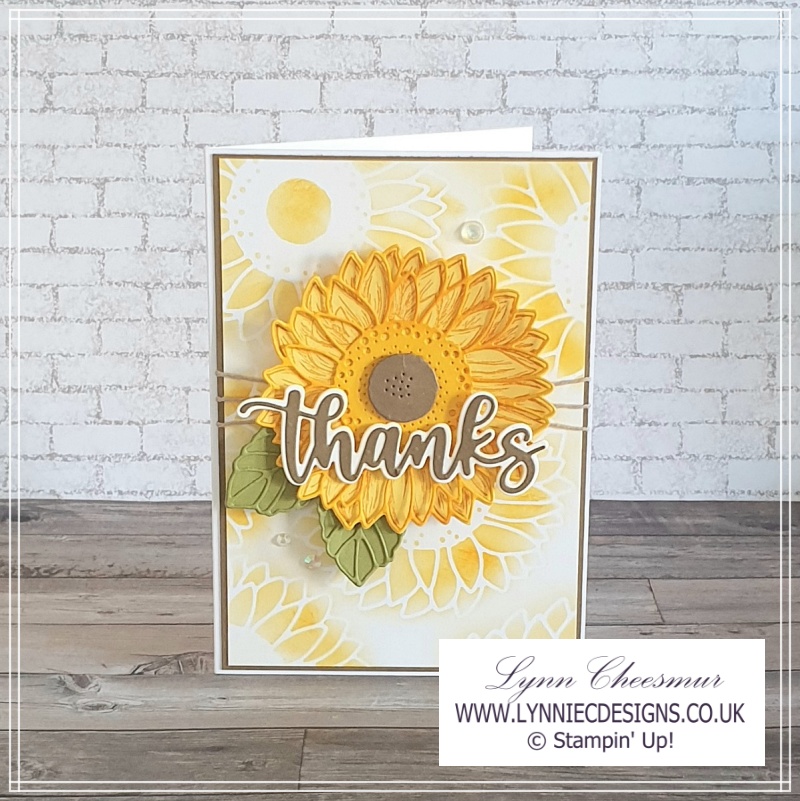
Did you know you can use a die cut as a stencil to create a pretty background?
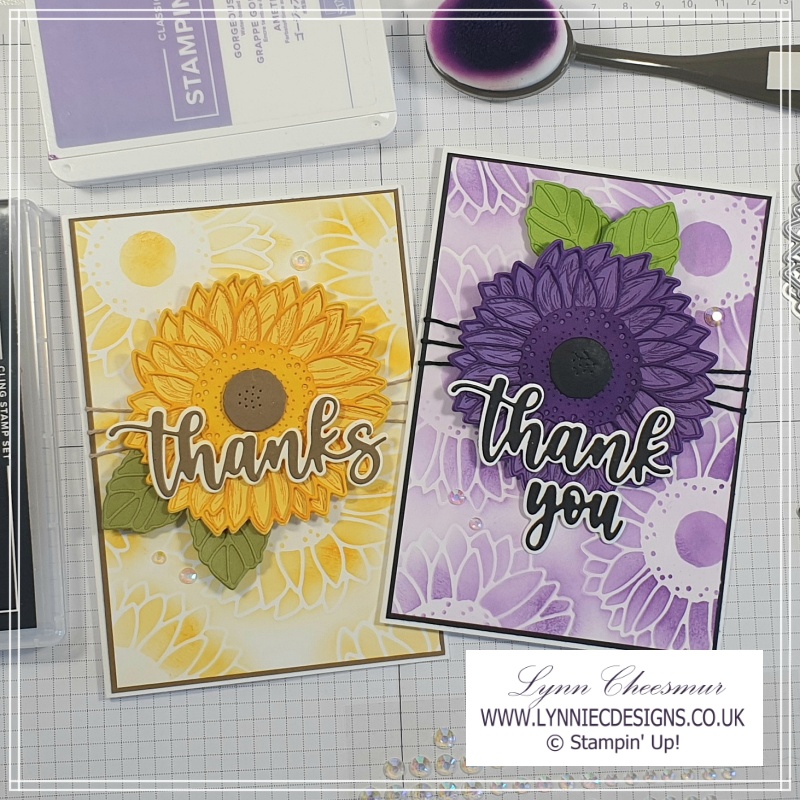
By using the outline die cut as a stencil and appling ink with a blending brush I was able to create a lovely pattern on a piece of Basic White. The ink also makes the outline die cut darker which gives a richness to the top layer of the flower in my humble opinion.
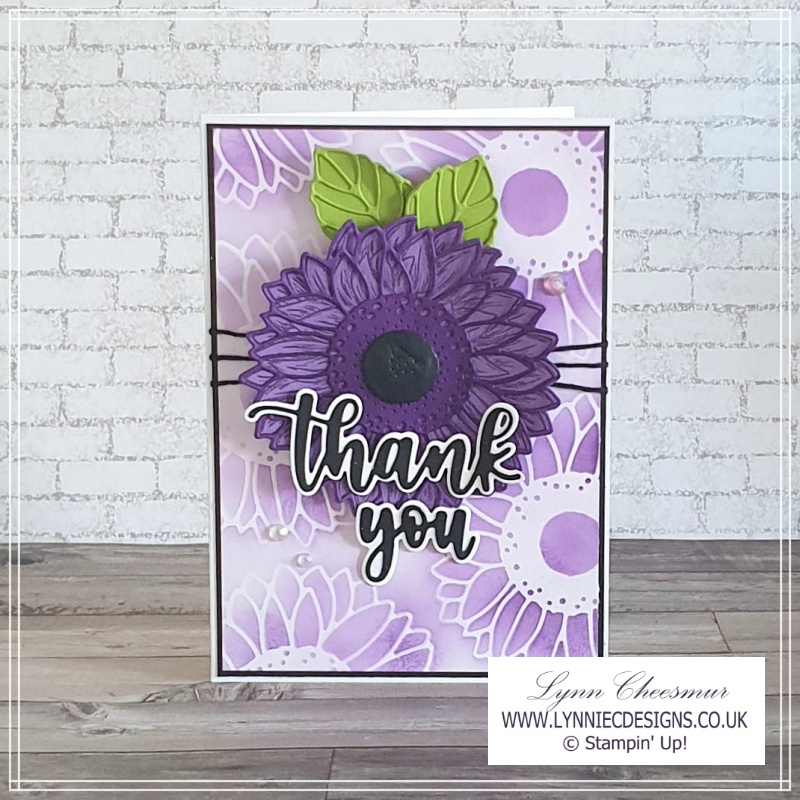
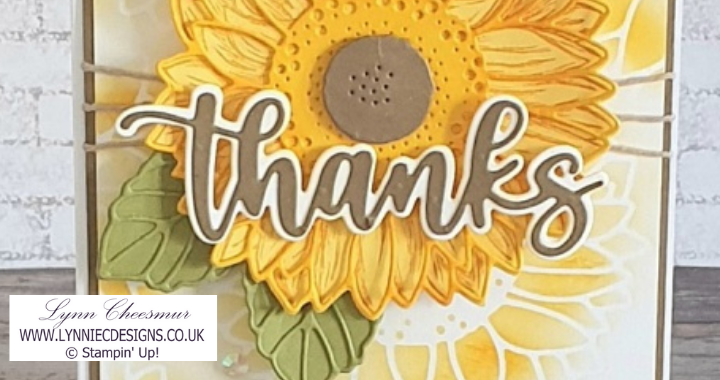
For my second version, which you can watch me make by clicking on the photo below, I changed the colours. Instead of making another sunflower card, I chose one of my favourite colours Gorgeous Grape. I think the flower looks a bit like a Gerbera in this colour but that might just be me!? I am very happy with the way it turned out.
As it was my birthday this week, I knew I would need lots of thank you cards. So in the first card the sentiment is a simple thanks but for the second card I wanted to have “thank you”. This was easy to achieve by trimming the “s” off with snips.
Supplies
Stamps:
Celebrating Sunflowers
Cardstock:
Thick Basic White 21cm x 14.8 score at 10.5cm
Card #1 Soft Suede and Card#2 Basic Black 10.2cm x 14.5cm
Basic White 9.9cm x 14.2cm plus extra for sentiment outline diecuts
Card #1 Old Olive and Card#2 Granny Apple Green for leaves 7cm x 7cm
Inks:
Card #1 Daffodil Delight, Card #2 Gorgeous Grape
Accessories:
Baker’s Twine Essentials pack, Iridescent Rhinestones,
Tools and Adhesives:
Sunflowers and Amazing Thanks dies, Blending Brushes, Adhesive Sheets, Multipurpose Liquid Glue, Mini & Black Stampin’ Dimensionals, Tear & Tape
Instructions for card #1 and #2:
- Cut and score card base
- Stamp the large flower and use Sunflowers dies to die cut together with the large outline flower
- Add adhesive sheet to card and die cut leaves and sentiment pieces
- Create the background using the outline flower die cut by applying ink with a blending brush
- Glue to mat layer
- Add twine around panel securing on the back with Tear & Tape
- Glue large flower pieces together adding the centre with a dimensional
- Add to panel with more mini dimensionals
- Peel adhesive backing off outline leaf die cut and add to bottom part and glue behind large flower
- Layer the sentiment pieces together and add with dimensionals
- Add a bit of sparkle with the wonderful Iridescent Rhinestones
- Finally glue panel to card base
If you would like to see me make the purple version just click below.
Thank you for visiting my blog today, I hope you enjoyed my projects. I’ve listed all the products used below so you can click on the images to go directly to that item in my Stampin’ Up! on line store. Click here if you want to read about how easy it is to shop with me 24/7.
If you don’t have a demonstrator and would like to get your hands on the new mini catalogue and Sale-a-bration leaflet get in touch. I would be happy to add you to my mailing list or answer any questions you may have.
As always, thanks for stopping by and remember to keep it crafty.
