Happy Sunday!
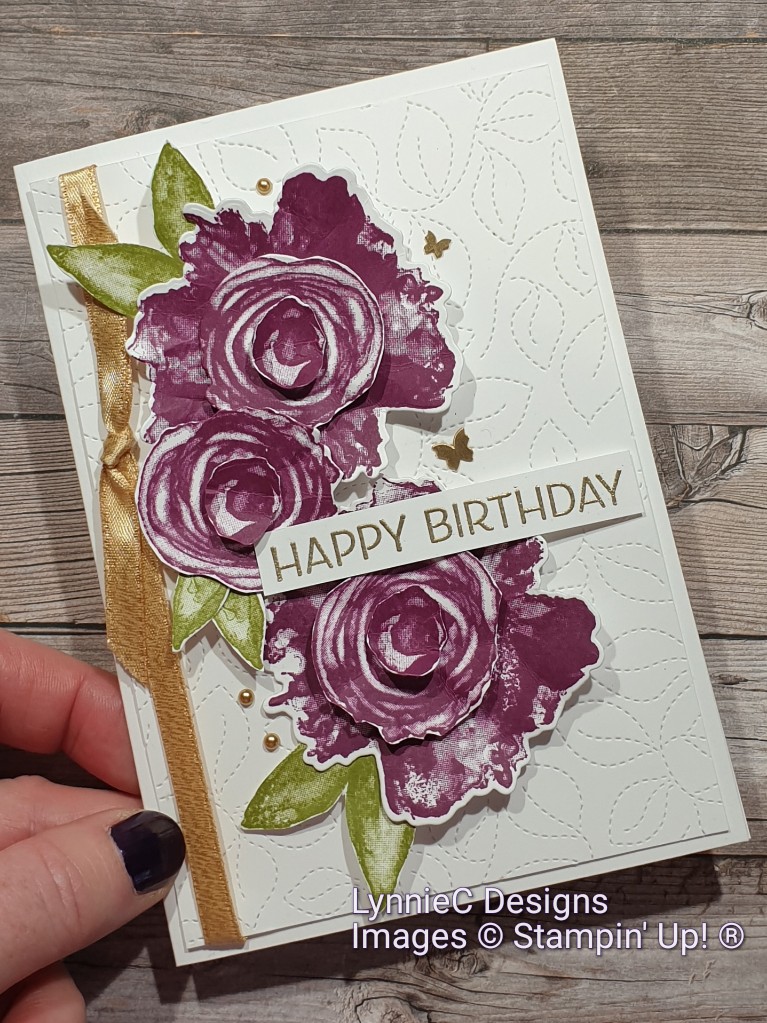
This is the card I designed for the March #stampingcovechallenges which is a sketch challenge. The rest of the Stamping Cove Design Team have created some wonderful cards that Emma Goddard (Coastal Crafter) will be sharing this month in her Facebook Group – The Stamping Cove.
As soon as I saw this sketch, I knew I wanted to use flowers instead of circles and with Stampin’ Up! there are so many choices. After a bit of thought I decided to pull out the gorgeous Artistically Inked stamp set and the co-ordinating Artistic dies from the Annual Catalogue. If you don’t have a die cutting machine the images are easily fussy cut. Did you know that The stamps create lovely single layer cards too but I wanted to have a lot of dimension and layers in my card.
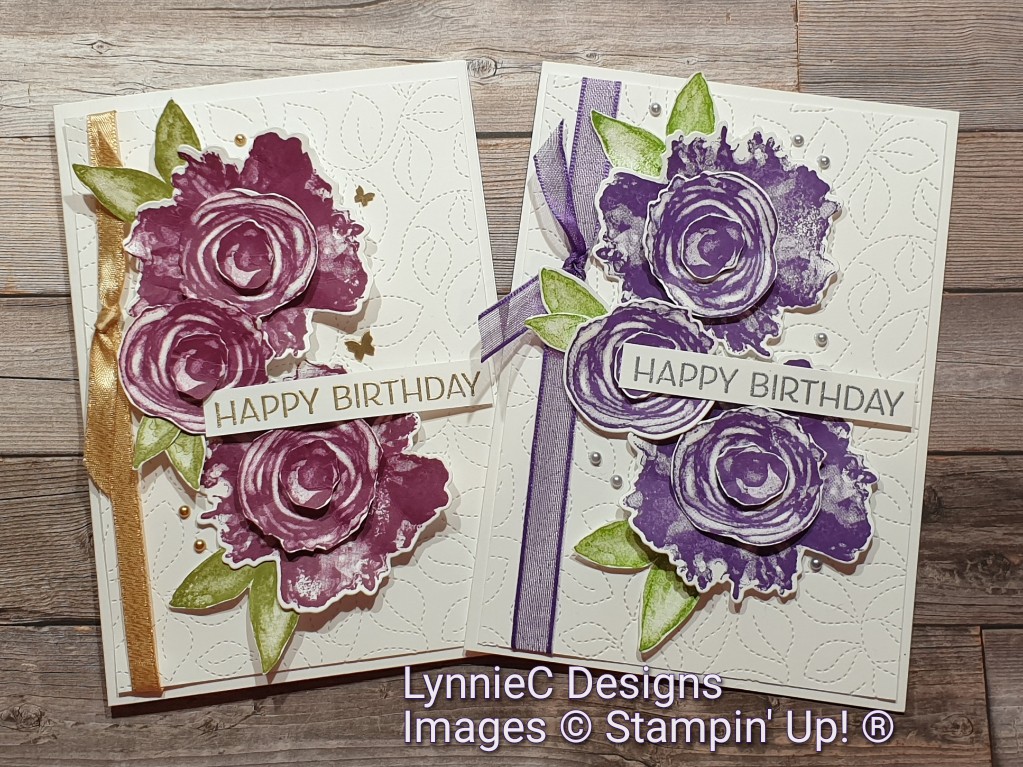
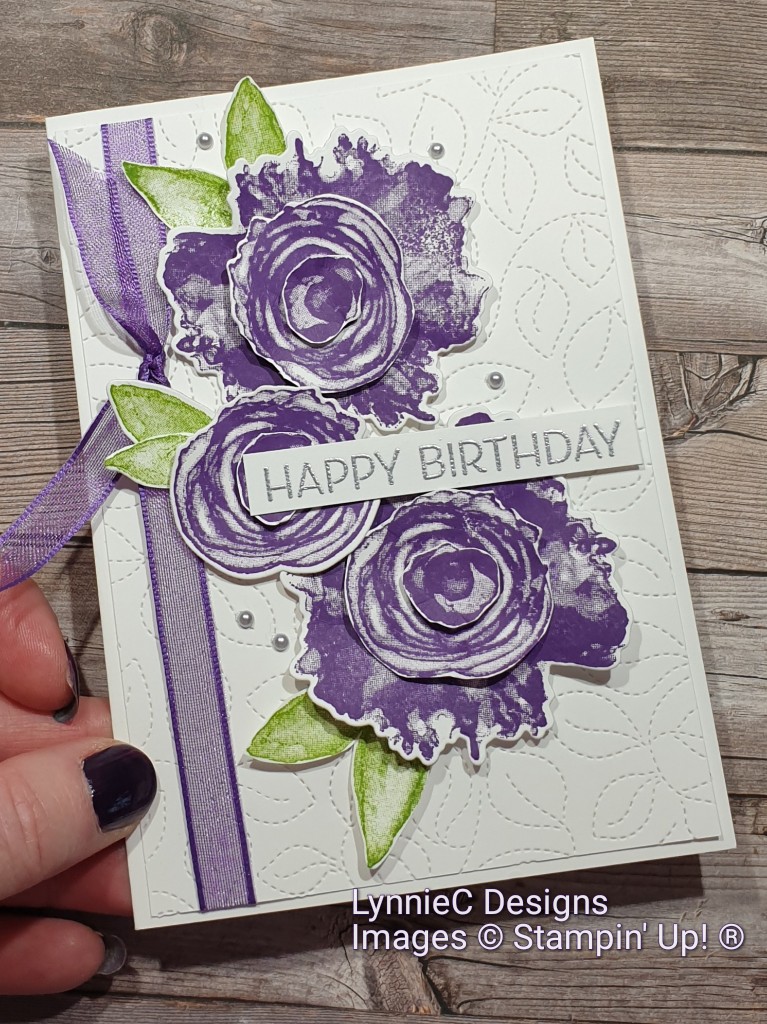
I stamped the flowers and leaves from Artistically Ink in Rich Razzleberry and Old Olive. The Stitched Greenery die creates a subtle but beautiful background. To bring in some golden elements I added Shimmer Ribbon, heat embossed the sentiment in gold and dotted about gold metallic pearls and a couple of Brushed Brass Butterflies from the Jan – June Mini Catalogue.
I think both cards turned out great. The Stitched Greenery die creates such a lovely background for the beautiful flowers – its one of my favourite dies from the annual catalogue.
Supplies:
Stamps and dies:
Artistically Inked Bundle
Stitched Greenery
Cardstock:
Thick Basic White 14.8cm x 21cm scored at 10.5cm
Basic White 10cm x 14.3cm
Basic White half sheet for stamping and die cutting
Inks:
Gorgeous Grape, Granny Apple Green and Versamark
Accessories:
Gorgeous Grape Sheer Ribbon, Metallic Pearls, Metallic Emboss Powders
Tools and Adhesives:
Heat Tool, Multipurpose Liquid Glue, Tear and Tape, Mini Stampin’ Dimensionals
Instructions:
1.Cut and score the card base
2.Use the Stitched Greenery die on the Basic White panel
3.Stamp 2x large, 3x medium, 3x small flowers, die cut or fussy cut and layer with dimensionals
4.Arrange flowers on white panel with glue and dimensionals
5.Stamp 3x double and 2x single leaves, die cut or fussy cut and arrange around flowers
6.Add ribbon down the left hand side and tie a knot rather than a bow
7.Glue flowers to the white panel with glue and dimensionals
8.Heat emboss sentiment, trim and add across flowers with a dimensional and glue
9. Add white panel to card base
9.Add Metallic Pearls
You can see how easy it was to make these cards by clicking on the video below:-
Let me know if you enjoyed my tutorial by leaving comment on YouTube or here and if you have any suggestions for future videos I’d love to hear them.
Listed below are all the products I used. Just click on the images below or links in the blog and you will go to that item in my Stampin’ Up! on line store. If your order is over £25 use my current monthly On line Shopper code and I’ll send you a handmade card and little thank you gift next month. If your order is over £99 you should think about joining my team. – get in touch to learn more.
As always, thanks for stopping by and remember to keep it crafty.
Lynn
xxxxxx
Product List
Artistically Inked Bundle (English)
[155456]
£49.50
[155451]
£30.00
Basic White A4 Thick Cardstock
[159230]
£7.75
[159228]
£9.00
Gorgeous Grape Classic Stampin’ Pad
[147099]
£7.00
Granny Apple Green Stampin’ Pad
[147095]
£7.00
[102283]
£8.75
[155555]
£17.00
3/8″ (1 Cm) Gorgeous Grape Sheer Ribbon
[154572]
£6.50
[146282]
£6.50
[129054]
£28.00
[154974]
£4.50
[144108]
£3.75
[154031]
£6.50
