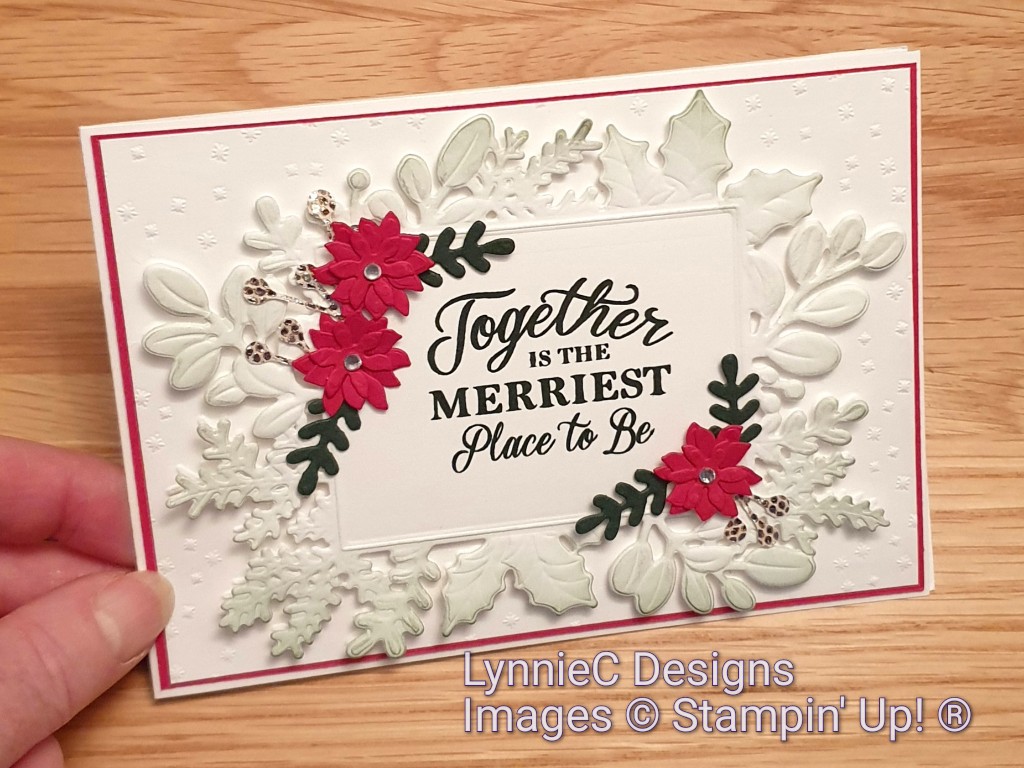
Today I’m sharing another project from my October classes featuring the fabulous Merriest Moments bundle by Stampin’ Up! On this card I wanted to show how amazing the Merriest Frames dies are with the Hybrid Embossing Folder.
I originally designed the card with a Real Red base but changed it to Thick Basic White with a mat layer of Real Red so I could die cut the flowers from the mat – as no-one can see the middle of the mat once the white layer is added.
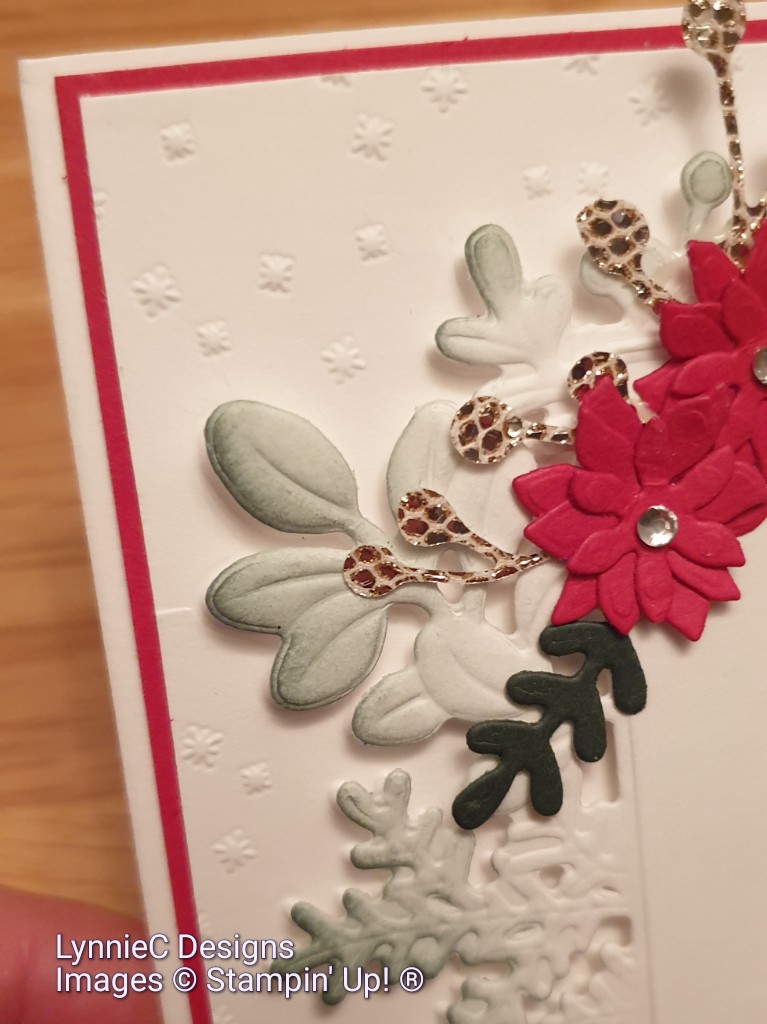
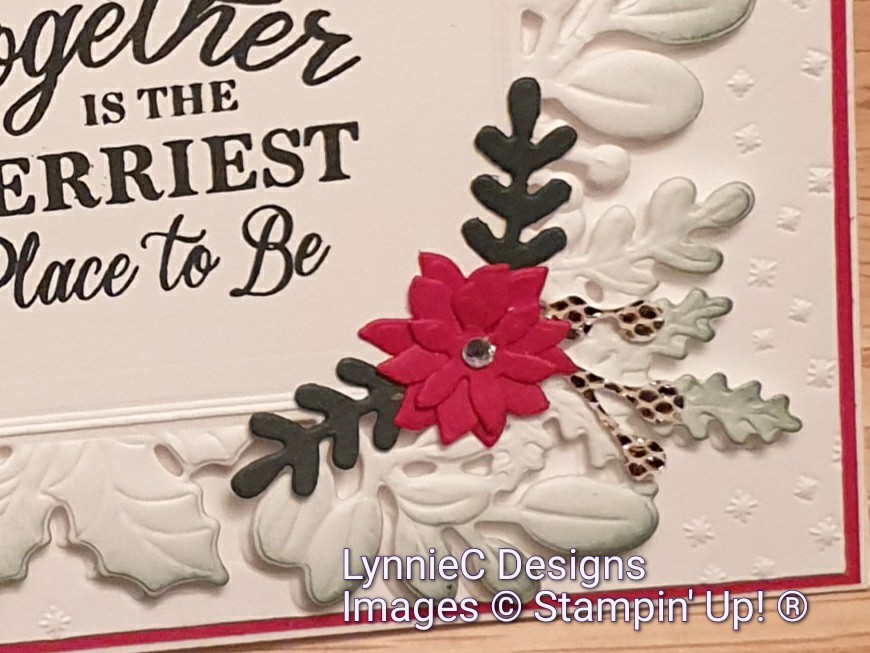
Here are a couple of close ups so you can see the detail – it turned out really pretty don’t you think.
What is a hybrid embossing folder? It is one that’s designed to work with dies. The hybrid embossing folder gives specific, intricate detail to the dies that coordinate with it, allowing you to layer them and to mix and match features. Take a look at what I did without using many of the dies that are included to cut out the various leaves, greenery and poinsettias. There is so much potential with this bundle!
The supplies I used to make my card:
Stamps and dies:
Merriest Moments bundle, Forever Flourishing and Poinsettia dies
Cardstock:
Thick Basic White 10.5cm x 29.7cm (scored at 14.8cm)
Real Red 10.2cm x 14.5cm
Basic White 9.9cm x 14.2cm (embossed with the Merriest Frames Embossing Folder)
Basic White 1/4 sheet to cut a Merriest Moment Foliage Frame x1
Scrap of Evening Evergreen
Scrap of Be Dazzled 6” x 6” (sadly retired)
Inks:
Evening Evergreen and Soft Succulent
Accessories:
Rhinestones Basic Jewels
Tools and Adhesives:
Blending Brushes, Snips, Stamp, Cut & Emboss Machine, Trimmer, Adhesive Foam sheets, Multipurpose Liquid Glue
Instructions:
· Cut, score and fold your card base
· Die cut the three smallest flowers x3 each from the Real Red layer and glue to base
· Emboss a piece of Basic White in the Hybrid embossing folder and glue to base
· Emboss and cut a Basic White Foliage frame
· Blend the edges of the White Foliage Frame with Soft Succulent Ink
· Stamp sentiment in Evening Evergreen Ink and add to base with pieces of Adhesive Foam sheets
· Layer flowers, add a rhinestone in the centre of each and arrange on the Foliage frame
· Die cut tiny leaves with Forever Flourishing dies x4 and glue around flowers
· Die cut the Poinsettia flourish, snip and add behind flowers
If you click below you can see the type of card kit I give to everyone that come to one of my classes and how easy this card is to make. It is lovely that I’ve gained a number of new subscribers this month so I’ve done a short piece to camera to show my face … I’m really more comfortable behind the camera though! It would be really helpful if you would leave me a comment to let me know what you think of this card and give it a thumbs up.
I’ve listed below all the products I used so you can simply click on the images and go directly to my Stampin’ Up! on line store. If your order is between £25 and £150 please use my current monthly On line Shopper code X7UCDQGE to receive a handmade card and FREE thank you gift from me next month.
As always, thanks for stopping by and remember to keep it crafty.
Lynn
xxxxxx
Product List
Merriest Moments Bundle (English)
[156783]
£50.25
[152714]
£33.00
[153522]
£33.00
Basic White A4 Thick Cardstock
[159230]
£7.75
[159228]
£9.00
[106578]
£8.25
Evening Evergreen A4 Cardstock
[155575]
£8.25
Evening Evergreen Classic Stampin’ Pad
[155576]
£7.00
Soft Succulent Classic Stampin’ Pad
[155778]
£7.00
[144220]
£4.75
[153611]
£11.25
[103579]
£9.25
[152815]
£7.50
[154974]
£4.50


