Hello there
Today I’m sharing some fun faux laser cut cards. We have some amazing laser cut designer series paper coming in the new Stampin’ Up! annual catalogue and it gave me a notion to create some faux laser cut cards using some detailed dies from my stash. You’ll see that I’ve used a different die to cut an aperture in each card.
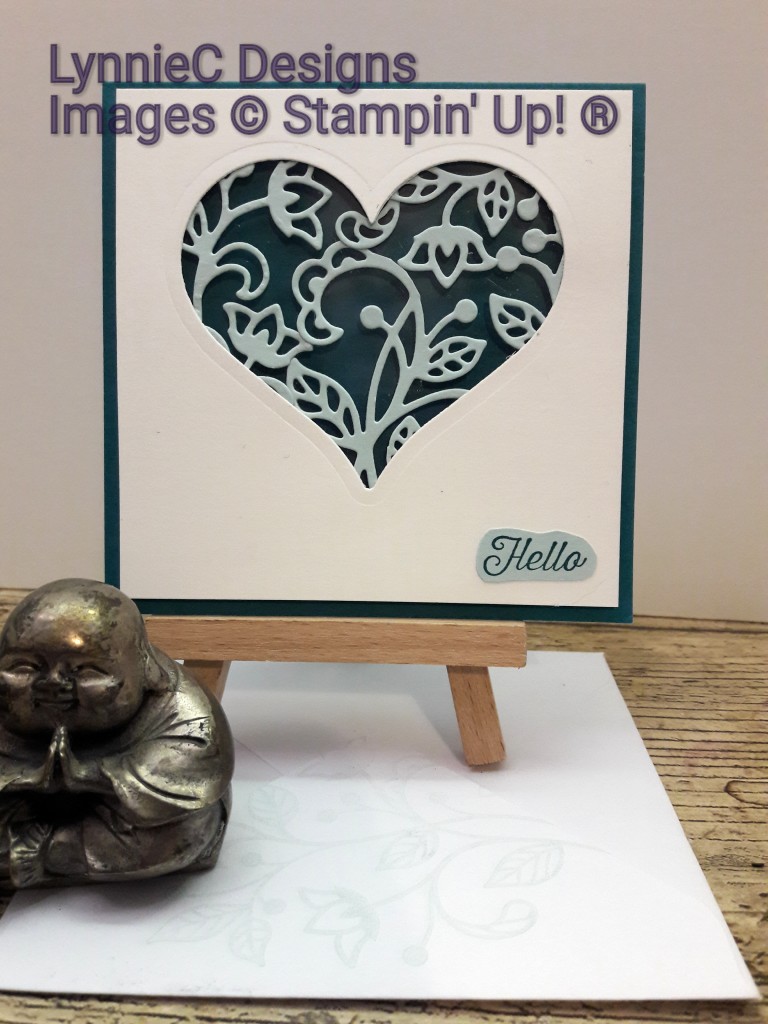
The first one is a sweet 4″ x 4″ notecard that we made at my last card class along with an envelope made with the Envelope Punch Board. The base is Island Indigo cardstock, one of the retiring in-colours. I used one of the Sweet & Sassy Framelits hearts to cut an aperture from a piece of Whisper White cardstock. A couple of intricate floral pieces were cut using two of the Flourish Thinlits from Pool Party cardstock before being added to the back of the aperture. The whole layer was added with dimensionals. The sentiment is from the Flourishing Phrases stamp set and stamped in Island Indigo ink on a scrap of Pool Party. I did that as I made a mess of the sentiment but don’t tell anyone!
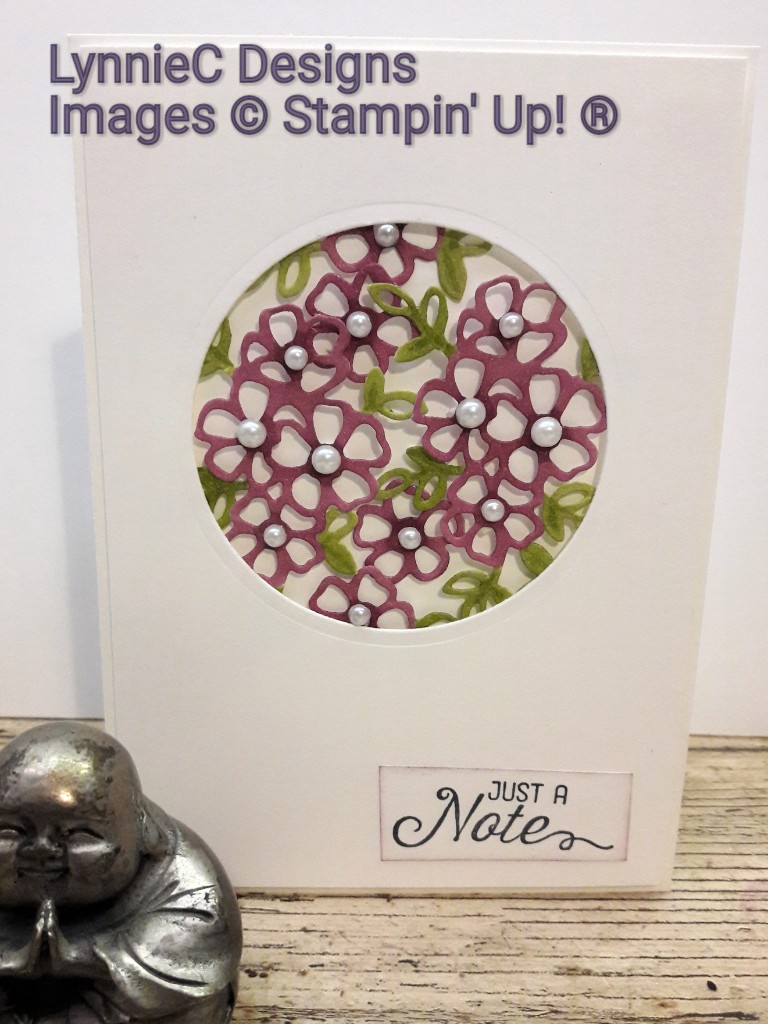
The next one is an A6 Whisper White card base with a slightly smaller Whisper White layer which has an aperture cut using the largest circle from the Stitched Shaped Framelits (I’ll use that on another project). Again I die cut some floral shapes – this time using two of the Petals & More thinlits – and coloured them using my Old Olive and Rich Razzleberry Stampin’ Blends. Pearls finish off the centre of all the flowers with dimensionals behind the panel and pearls to pop up the whole panel. The sentiment is again from Flourishing Phrases.
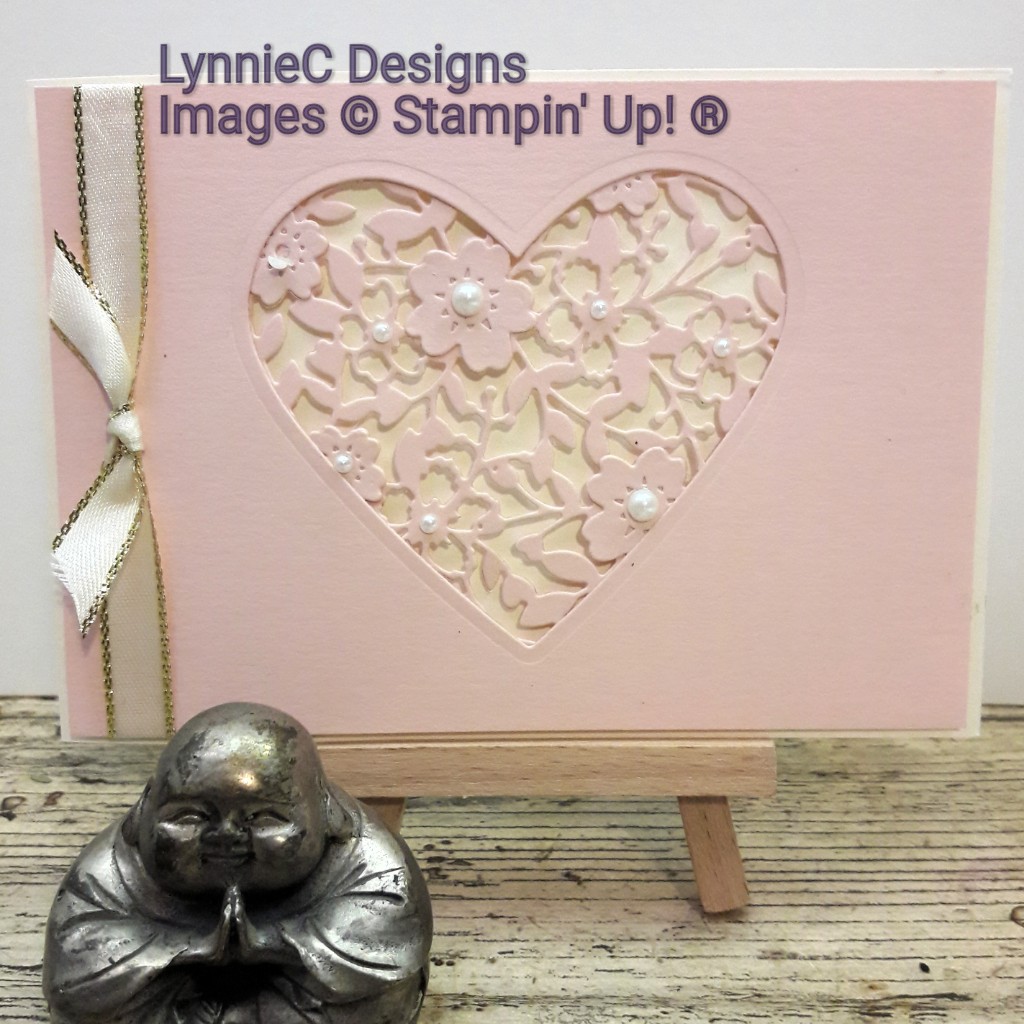
The next has an A6 Very Vanilla card base and a slightly smaller Powder Pink layer. I used another large heart die from the Sweet & Sassy Framelits to cut the aperture and added the large floral heart cut from the same cardstock using the Bloomin’ Love thinlits – sadly both of these are retiring at the end of May. I die cut extra flowers to make them pop, added a few basic pearls as well as a piece of the gold metallic edge ribbon down the side.
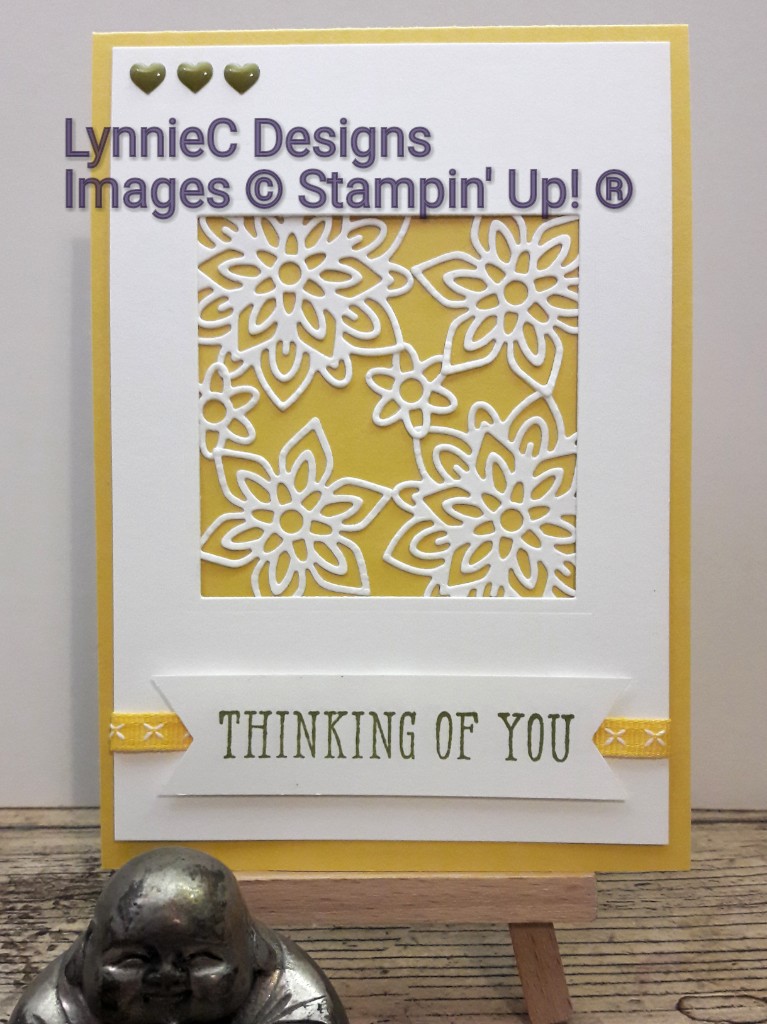
I made a quick tutorial on my YouTube channel for the final card which you can watch below. I again used Flourish thinlits dies to create the faux laser cut piece and added them behind a square aperture made with the Stitched Shapes Framelits with whisper white cardstock. As you’ll see on the video, I thought it would make it easier to stick the intricate flowers together by adding adhesive sheets to the whisper white cardstock before die cutting them but it was a failure! The A6 card base is made from Daffodil Delight cardstock. The sentiment from the Window Shopping retiring stamp set is stamped on a strip of whisper white in Old Olive classic ink. I used the Triple Banner punch and added it with dimensionals over a piece of Double Stitched Ribbon. Old Olive enamel shapes add the finishing touch.
I’d love to know what you think of the video and any of these cards so leave a comment.
If you’d like to purchase any of the items used simply click on the highlighted links above to go straight to the products in my Stampin’ Up On-line store, or click here for a general browse
If you have any questions, live near West Sussex and would like to come to a class or have a girls night in with a difference please get in touch at lynniecdesigns@gmail.com.
As always, thanks for popping by.
Lynnie C
xxxxxx
