
Happy Sunday!
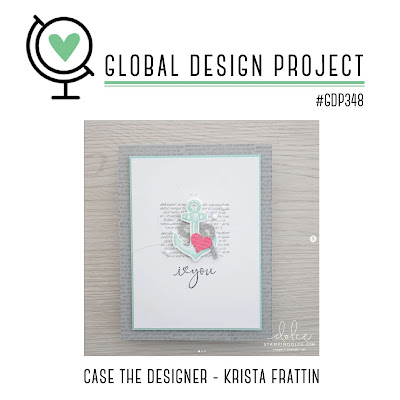
Today I’m playing along with #GDP348 Global Design Project a CASE the designer challenge. What is a CASE challenge? Well CASE = Copy and Selectively Share. When you CASE a project you can take anything you like from the design and make it your own. It might be the stamp set, the colours, the layout, the theme, the images, basically whatever you like that has inspired you to make a card of your own.
We are CASEing the lovely card below by Krista Frattin from Canada, a talented member of the Design Team.
Special Mention
First I was so excited and very grateful to get a special mention for the card I entered in last week’s Theme Challenge #GDP347, which you can see in my last post here. What a lovely way to start the week. Congratulations to the three worthy winners and the others who got a special mention. I hope the Design Team realise how much we appreciate the work they put into these challenges each week. Because I know they inspire me to be creative.
Back to this week’s challenge!
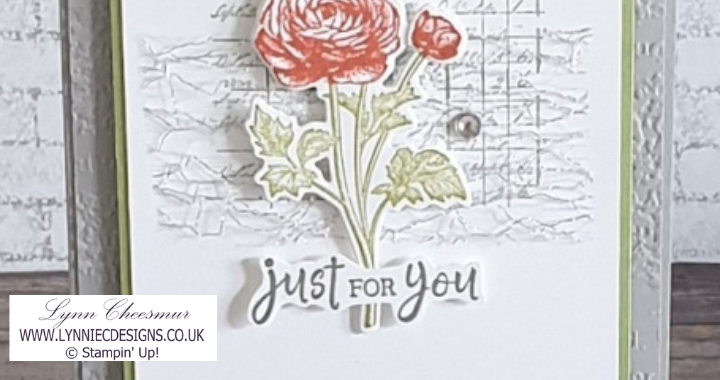
For my card, I chose to use the Ranunculus Romance Stamp Set and Dies, which are available to purchase as a bundle until the end of this month. If you buy them as a bundle you can save 10%. However, you will still be able to order them after that because they have carried over into the Annual Catalogue.
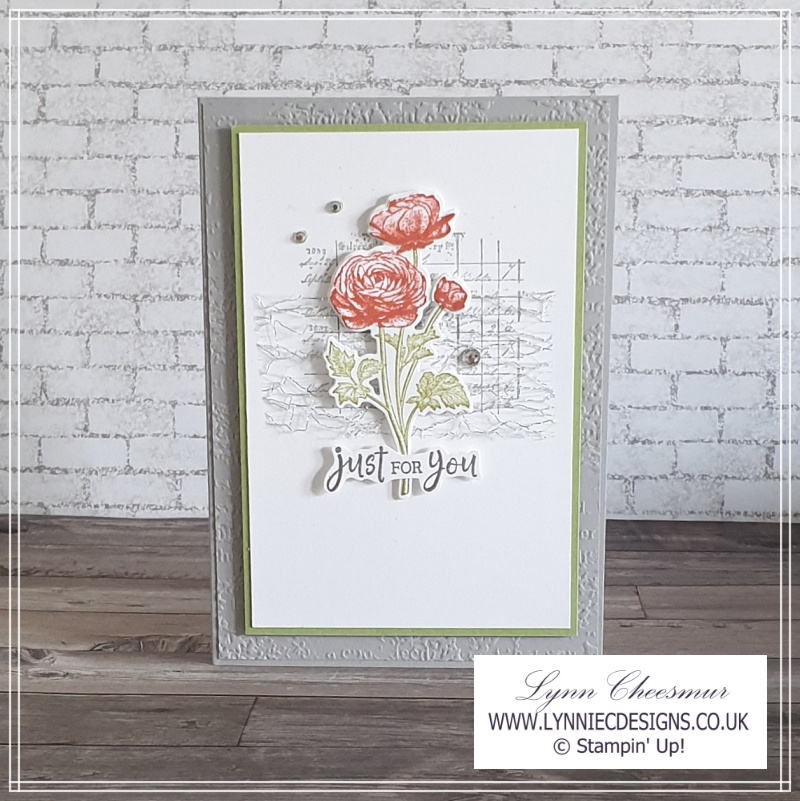
The layout, layering and soft colours in Krista’s card caught my eye and I knew I wanted to use those elements in my card. For the card base I stayed with Smoky Slate and then used the Timeworn Type 3D embossing folder to add texture to another Smoky Slate layer. Next I stamped a background on the Basic White layer in Smoky Slate ink and on a separate piece of Basic White I stamped the floral images in Calypso Coral and Pear Pizzazz.
Did you know there are different ways to add ink to stamps
First apply different colours with Stampin’ Write Markers direct to stamps. Next huff on the stamp to moisten the ink and put the stamp to paper. The second was is to stamp once in each colour, trim with snips and glue together.
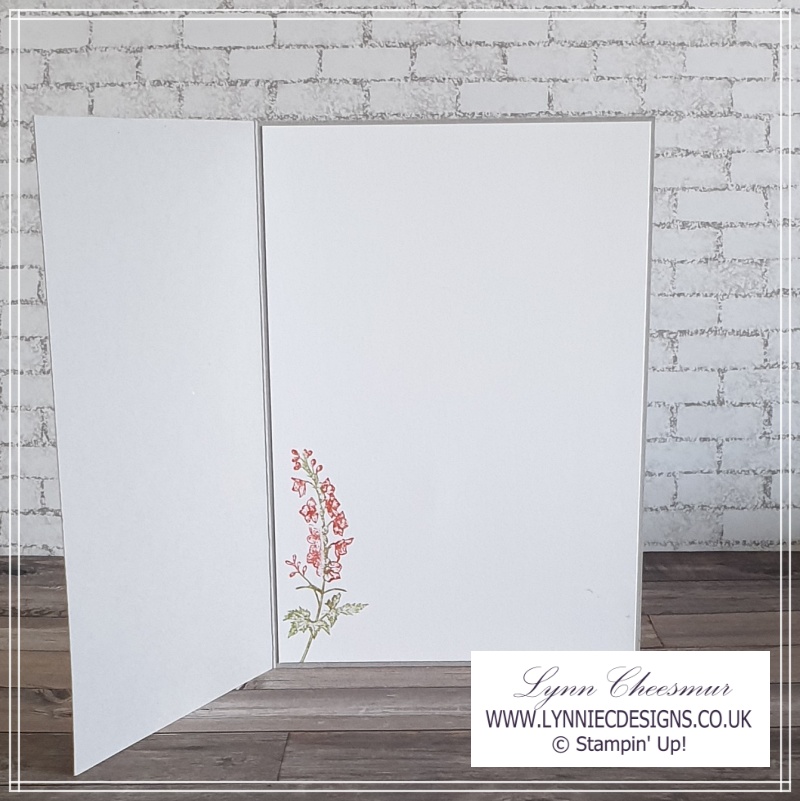
On the larger panel of Basic White I stamped the smaller floral image inking again with Stampin’ Write Markers and this was glued to the inside of the card. The Smoky Slate layer was glued to the front.
For a touch of elegance, I heat embossed the sentiment in silver and then using my paper snips neatly fussy cut it. After a bit of thought, I decided which of the larger stamped floral images to use and then it was just a matter of putting the card together.
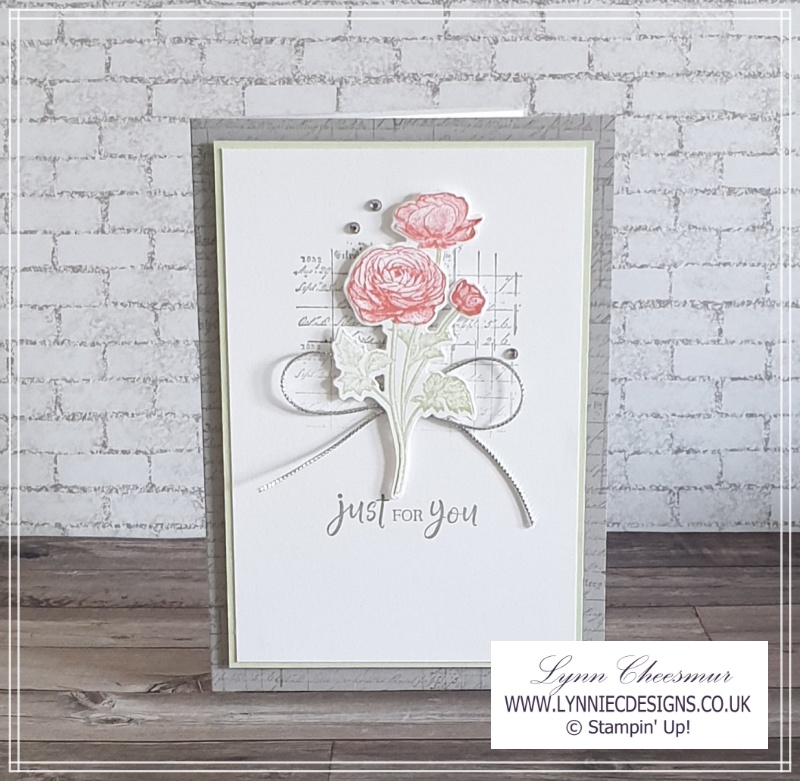
The above card was the first one I made and I created the background on the base by repeat stamping in Smoky Slate. I chose Soft Sea Foam for the layer and stamped the floral images in Flirty Flamingo and Soft Sea Foam. The trim I used on this card is from the Simply Elegant Trim pack but for the other card I used some of the Metallic Mesh Ribbon.
Supplies
Stamps:
Ranunculus Romance
Cardstock:
Smoky Slate 21cm x 14.8 score at 10.5cm
Smoky Slate 10.2cm x 14.5cm
Pear Pizzazz 8.9cm x 13.2cm
Basic White 8.5cm x 12.8cm and 10.2cm x 14.5cm plus a quarter sheet for stamping
Inks:
Smoky Slate, Calypso Coral, Pear Pizzazz, Versamark
Accessories:
Silver Mesh Ribbon, Basic Rhinestones, Silver Emboss Powder, Wink of Stella
Tools and Adhesives:
Stampin’ Write Markers (Calypso Coral and Pear Pizzazz), Multipurpose Liquid Glue, Mini Stampin’ Dimensionals, Stampin’ Seal, Paper Snips, Heat Tool
Instructions for card #1:
- Cut and score card base
- Emboss smoky slate layer and glue to card front
- Stamp background on small panel, flowers and die cut
- Next stamp flowers using Stampin’ Write Markers to larger panel and glue inside card
- Add Mesh Ribbon to small panel with Stampin’ Seal and add die cut flowers with mini dimensionals
- Heat emboss sentiment and trim (fussy cut) with snips and add with dimensionals
- After glueing the panel onto the Pear Pizzazz layer, I splattered Wink of Stella and then added the whole panel to the base with dimensionals
- Add Basic Rhinestones
If you would like to see me make the first card over on my YouTube channel click below.
Thank you for visiting my blog today, I hope you enjoyed my project and you’ve been inspired to play along with a challenge. I’ve listed the products I used below so you can click on the images to go directly to that item in my Stampin’ Up! on line store. Click here to learn how easy it is to shop with me 24/7 if you’re unsure.
I am grateful for your support – it helps me to keep crafting, blogging and creating content for my YouTube channel. If you live in the UK and don’t already have a Demonstrator I would love to be yours.
As always, thanks for stopping by and remember to keep it crafty.

Product List
")
")


